Address
304 North Cardinal
St. Dorchester Center, MA 02124
Work Hours
Monday to Friday: 7AM - 7PM
Weekend: 10AM - 5PM
Address
304 North Cardinal
St. Dorchester Center, MA 02124
Work Hours
Monday to Friday: 7AM - 7PM
Weekend: 10AM - 5PM
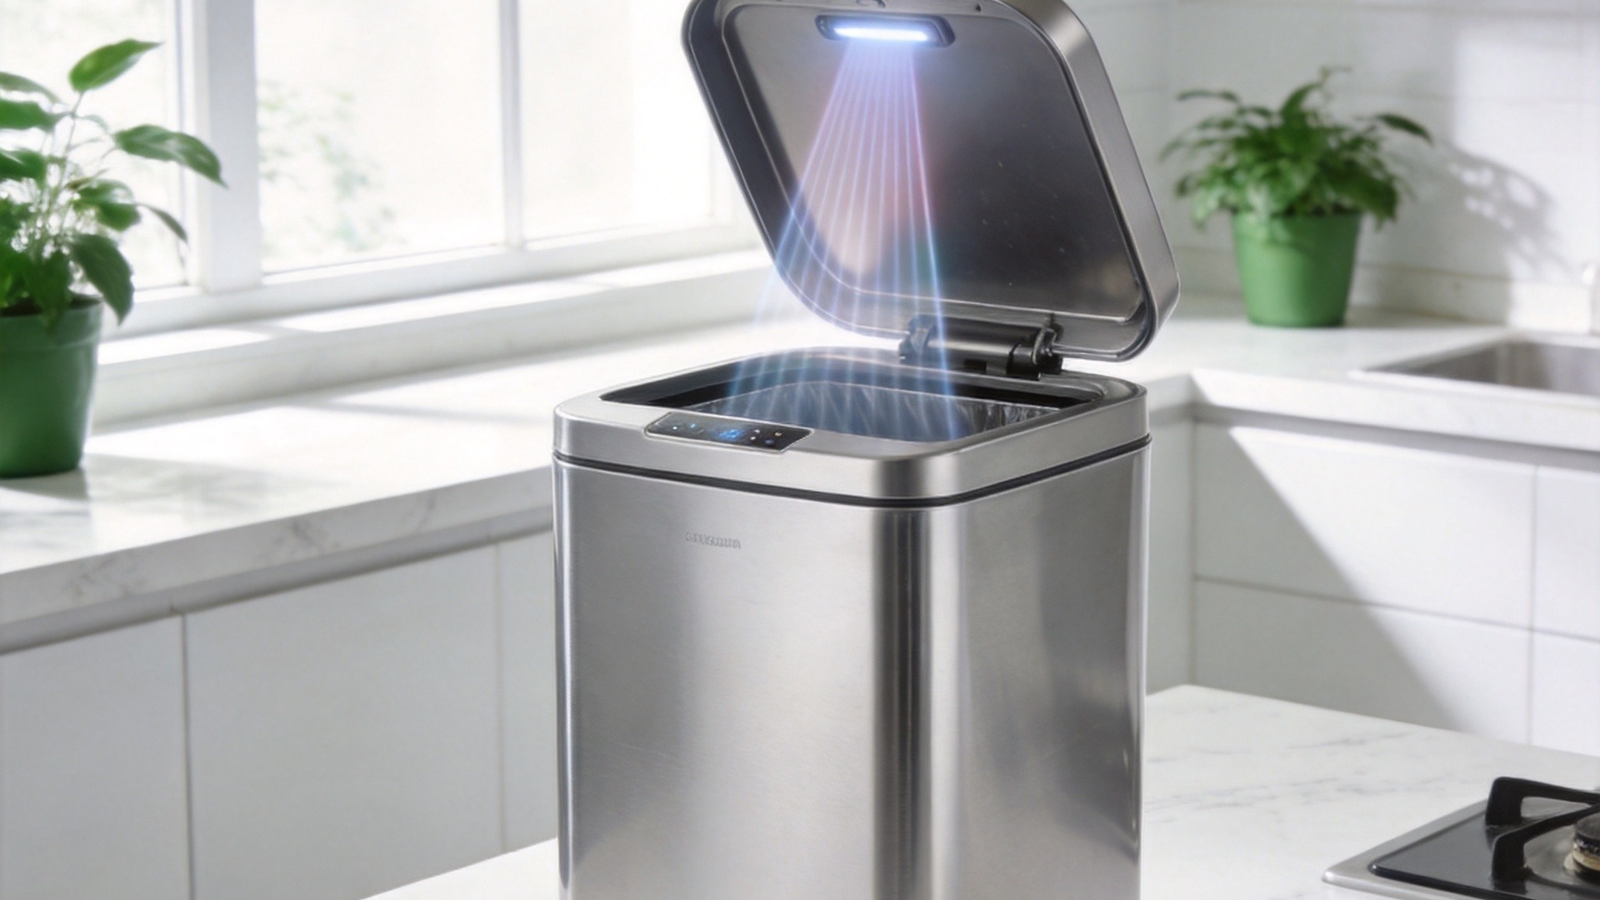
Nothing breaks the convenience of a smart trash can faster than an unreliable sensor. You wave your hand and nothing happens. You walk past and the lid flies open for no reason. You’re standing right in front of it with both hands full of scraps — and it sits there, completely unresponsive.
Smart sensor trash cans are designed to make waste disposal effortless and hygienic. But like any technology that relies on infrared or motion detection, they perform best when properly calibrated for your specific environment. Most sensor issues aren’t defects — they’re environmental mismatches that a few simple adjustments can fix.
This guide walks you through exactly how proximity sensors work in smart trash cans, what causes common detection problems, and seven practical steps to optimize your sensor for reliable, accurate performance every time.
Before troubleshooting or optimizing, it helps to understand what’s happening inside the lid.
Most smart trash cans — including all Elylife models — use infrared (IR) proximity sensors. These sensors emit a beam of infrared light and measure how much of that light bounces back after hitting an object. When your hand, knee, or body breaks into the sensor’s detection zone, the reflected infrared signal triggers the motorized lid to open.
Key factors that affect sensor performance:
Understanding these factors is the first step toward consistently reliable performance. For a deeper look at the technology behind these devices, see our Technology Explained guide.
Before jumping to optimization steps, let’s identify which problem you’re experiencing. Different symptoms point to different root causes.
This is the most annoying issue. Common causes:
If you’re experiencing persistent issues after trying the optimization steps below, our Maintenance & Troubleshooting Guide covers deeper repair and replacement procedures.
The sensor window is a small, typically circular or rectangular lens located on the front or top of the lid. It’s the single most common cause of detection problems.
Do this:
Avoid this:
Frequency: Clean the sensor window at least once a week in kitchens (where grease accumulation is fastest), and every two weeks in bathrooms or offices. For a full cleaning routine beyond just the sensor, see our Trash Bag Guide for tips on keeping the entire bin interior clean.
This is the single most effective fix for false triggers. Infrared sensors are designed for indoor ambient light conditions — direct sunlight contains massive amounts of infrared radiation that can saturate the sensor.
How to check: Watch your trash can during different times of day. If false triggers cluster around certain hours (morning or afternoon), sunlight is likely the culprit.
Solutions:
This adjustment also relates to overall bin placement strategy. For a comprehensive approach to positioning your smart trash can, check our Placement Guide.
Infrared sensors bounce signals off objects in their detection zone. Highly reflective surfaces near the sensor can create confusing reflections that trigger false opens or reduce detection accuracy.
Common problem surfaces:
Quick fixes:
Weak power is one of the most overlooked causes of sensor degradation. Most smart trash cans run on 4–6 AA or D batteries, and the sensor is the first component to suffer when voltage drops.
Signs of low battery affecting the sensor:
Best practices:
Not every household member interacts with the trash can the same way. Children wave their hands quickly and close. Adults may approach with both hands full. Elderly family members may prefer a wider detection range so they don’t have to bend down.
Optimization approach:
Many people notice their smart trash can works perfectly in spring but develops issues in summer or winter. This isn’t imagination — environmental conditions genuinely affect sensor performance.
Summer challenges:
Winter challenges:
Seasonal optimization checklist:
表格
| Season | Action |
|---|---|
| Spring | Deep clean sensor window; check for winter dust buildup; replace batteries |
| Summer | Manage sunlight exposure; increase cleaning frequency to weekly; check for condensation |
| Fall | Adjust placement for changing sun angles; clean sensor after summer grease buildup |
| Winter | Use fresh batteries (cold reduces capacity); keep bin away from heating vents; manage air current interference |
For summer-specific odor management alongside sensor optimization, our Summer Odor Control Guide covers keeping the entire bin fresh during hot months.
The best optimization is proactive maintenance. A quick weekly test catches degradation before it becomes frustrating.
The 30-Second Sensor Test:
If any step fails, work through Steps 1–6 above. The entire optimization process takes less than five minutes and prevents 90% of sensor performance issues.
Elylife’s K Series and M Series smart sensor trash cans are engineered with several features that support consistent sensor accuracy:
The K Series (30L–60L) and M Series (30L–80L) both use these optimized sensor systems. Browse the full Elylife collection to find the right model for your space.
表格
| Optimization Step | Frequency | Impact |
|---|---|---|
| Clean sensor window with microfiber cloth | Weekly (kitchen) / Bi-weekly (other rooms) | High |
| Reposition to eliminate direct sunlight | One-time setup | Very High |
| Manage nearby reflective surfaces | One-time setup + as needed | Medium–High |
| Replace batteries proactively | Every 4–6 months | High |
| Adjust detection zone for household needs | One-time + seasonal adjustments | Medium |
| Account for seasonal environmental changes | Quarterly | Medium |
| Run 30-second performance test | Weekly | Preventive |
A smart trash can sensor that works reliably isn’t luck — it’s the result of matching the sensor’s capabilities to your specific environment. Most issues trace back to five root causes: dirty sensor windows, sunlight interference, reflective surfaces, weak batteries, and environmental changes.
The good news is that every one of these causes has a straightforward fix. You don’t need technical expertise, special tools, or replacement parts. A microfiber cloth, fresh batteries, and a five-minute assessment of your bin’s surroundings will resolve the vast majority of sensor performance issues.
Think of it like maintaining any precision instrument: a little proactive care goes a long way. Clean the sensor weekly, manage the light environment, keep batteries fresh, and run a quick test every few days. Your smart trash can will reward you with consistent, reliable performance for years.
For more tips on getting the most from your smart trash can, explore our Maintenance & Troubleshooting Guide, our 10 Expert Tips for Sensor Bins, and our complete guide to How Smart Sensor Trash Cans Work.