Address
304 North Cardinal
St. Dorchester Center, MA 02124
Work Hours
Monday to Friday: 7AM - 7PM
Weekend: 10AM - 5PM
Address
304 North Cardinal
St. Dorchester Center, MA 02124
Work Hours
Monday to Friday: 7AM - 7PM
Weekend: 10AM - 5PM
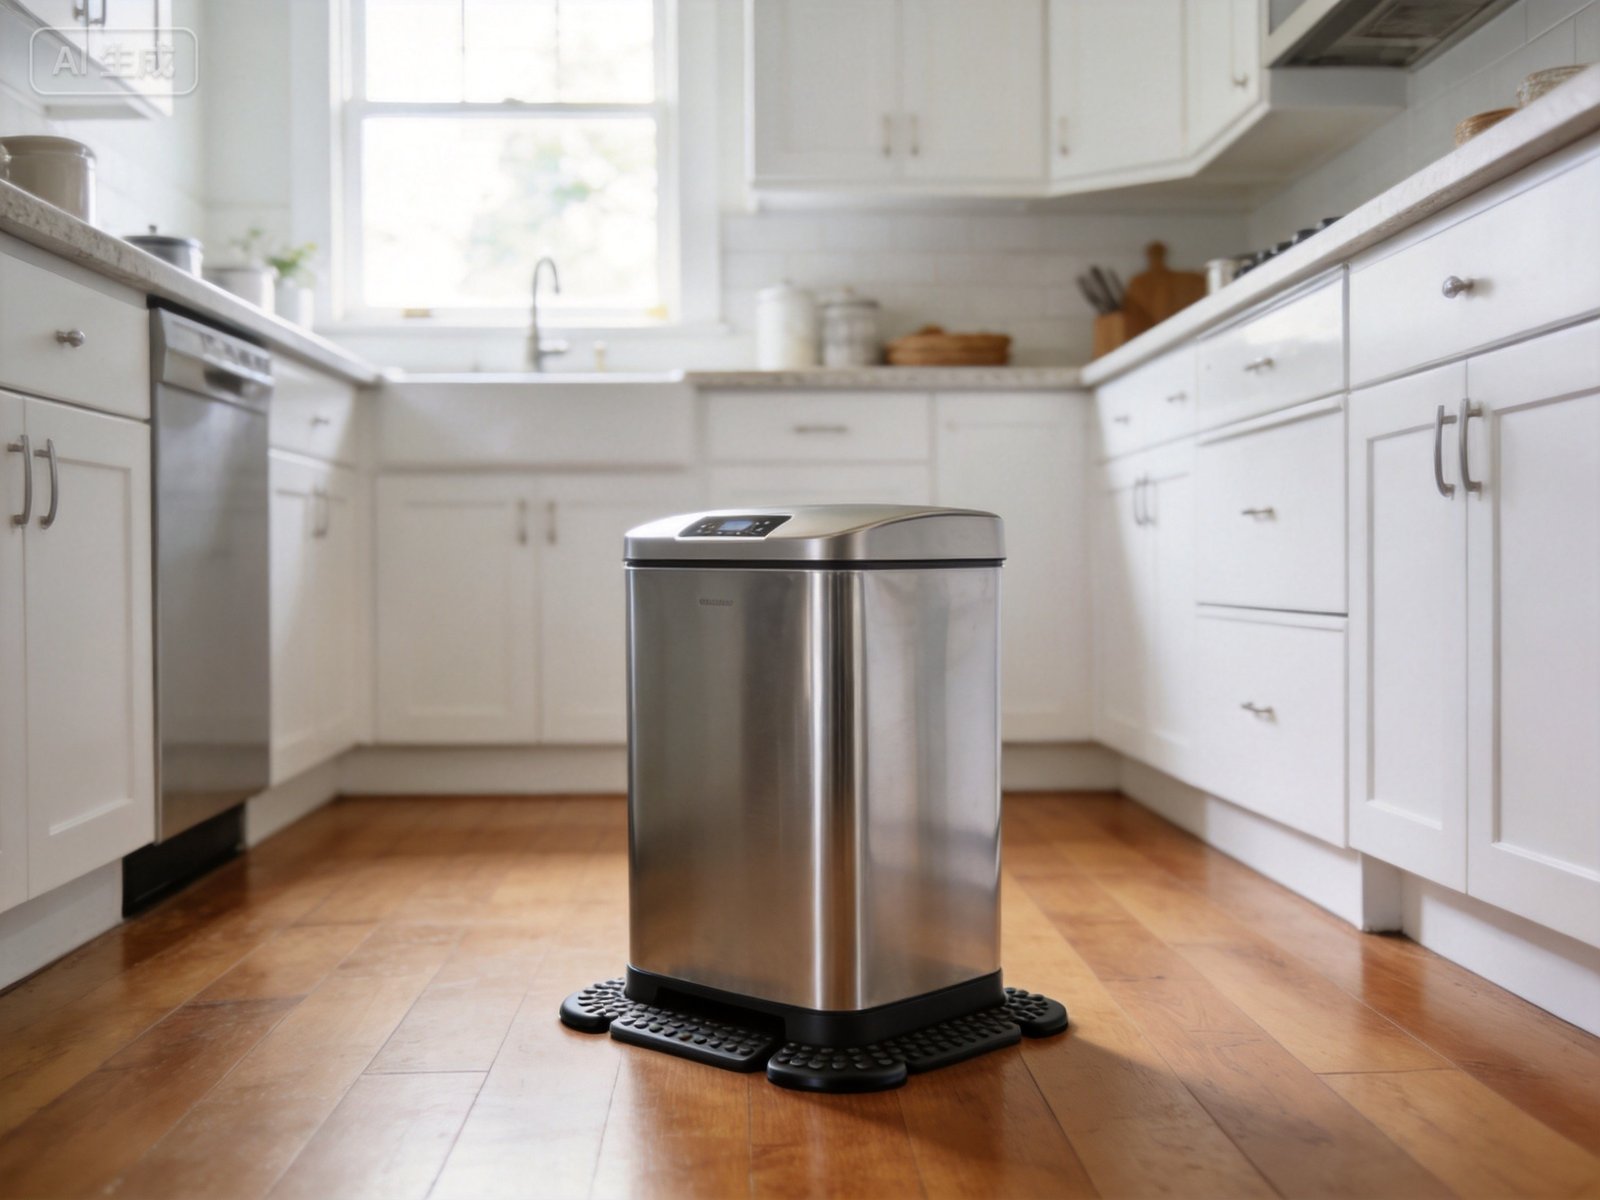
You push the lid open with your foot — and the entire trash can slides three feet across the kitchen floor. Again. If this scenario sounds all too familiar, you’re definitely not alone. A trash can that slides on hard floors is one of the most common (and most annoying) household frustrations, especially if you have hardwood, tile, or laminate flooring.
But here’s the good news: fixing this problem is easier than you might think. In this guide, we’ll explain exactly why your trash keeps sliding, and then walk you through 8 proven solutions — from quick DIY fixes to long-term upgrades.
Before we jump into solutions, it helps to understand the root cause. Essentially, a trash can slides when there isn’t enough friction between the bottom of the can and the floor surface. Several factors contribute to this:
Hardwood, polished tile, and laminate floors are designed to look beautiful — but they’re also incredibly smooth. As a result, there’s very little natural grip between the floor and the bottom of your trash can.
Many modern trash cans are made from thin plastic or lightweight aluminum to keep costs down. Unfortunately, a lighter trash can has less downward force pressing it against the floor, which means less friction. Consequently, even a gentle nudge can send it sliding.
Most budget trash cans don’t come with rubber feet, grips, or any anti-slip mechanism on the base. Therefore, when placed on a smooth floor, they slide with minimal effort.
Over time, the bottom of your trash can can become worn, warped, or damaged. This creates an uneven surface that reduces contact with the floor and makes sliding more likely.
Whenever you open a foot-pedal lid, push a swing-top open, or yank a stuck bag out of the can, you’re applying force. If that force is horizontal — even slightly — and the can is on a smooth floor, it will move. This is especially true for touchless sensor trash cans where the lid opens automatically but the can’s body isn’t secured.
Now let’s get to the solutions. Below are 8 effective methods, ordered from the quickest and cheapest to the most thorough.
The simplest and most effective fix is to add rubber pads or grips to the bottom of your trash can. These create friction between the can and the floor, preventing sliding.
What to use:
How to apply:
In most cases, this alone solves the problem completely. Moreover, it costs less than $5 and takes about 5 minutes.
If you don’t want to modify the trash can itself, place a non-slip mat underneath it. This approach works especially well for trash cans that you frequently move (for cleaning, bag changes, etc.).
Best options:
Additionally, a non-slip mat gives you flexibility — you can reposition the trash can whenever you want without losing the grip.
If you’re in the market for a new trash can, consider choosing a model that’s designed with stability in mind. Many premium trash cans feature a weighted base, rubber feet, or a wider footprint specifically to prevent sliding and tipping.
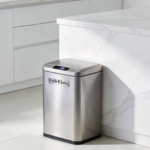
For example, the Elylife sensor trash can series includes models with sturdy stainless steel construction and a weighted design that sits firmly on any floor surface. Because these cans are made from quality materials with a heavier base, they stay in place even when the sensor lid opens and closes.
What to look for:
If you’re not ready to buy a new trash can, you can increase the weight of your existing one. A heavier trash can presses down harder on the floor, which increases friction and reduces sliding.
Easy ways to add weight:
That said, be careful not to add so much weight that the can becomes difficult to move when you need to relocate it. A good rule of thumb: the can should stay put during normal use, but still be movable with moderate effort.
Here’s a clever DIY trick that works surprisingly well:
Once dry, the glue or silicone creates a rubbery, grippy surface that prevents the can from sliding on smooth floors. What’s more, this method is completely reversible — you can peel the glue off later if needed.
Sometimes, the simplest solution is to put a small rug or mat under the trash can. A kitchen mat or anti-fatigue mat not only prevents the can from sliding but also makes the area more comfortable to stand on while cooking.
Best options for this approach:
However, make sure the rug or mat itself doesn’t slide. Look for products with a rubberized non-slip backing, or place a non-slip pad underneath the rug as well.
For a more permanent solution, you can physically secure the trash can to the wall, cabinet, or floor. This is especially useful in high-traffic kitchens, RVs, or homes with pets that bump into things.
Securing options include:
On the other hand, this approach sacrifices portability. So only choose this method if your trash can stays in one location permanently.
Finally, if nothing else works — or if you simply want to eliminate the problem entirely — consider moving the trash can into a cabinet or under-counter pull-out unit. This completely removes the trash can from the open floor, so sliding is no longer an issue.
Benefits of this approach:
If you go this route, you’ll want a compact can that fits standard cabinet dimensions (usually 12–18 inches wide). The Elylife B118 18L Sensor Bin is a great option for in-cabinet use, with sensor-activated opening and a slim profile.
表格
| Solution | Cost | Effort | Effectiveness | Best For |
|---|---|---|---|---|
| Rubber pads/grips | $ | 5 min | ★★★★★ | Quick fix for any can |
| Non-slip mat | $ | 2 min | ★★★★☆ | Portable, flexible setup |
| Weighted base trash can | $$$ | None | ★★★★★ | Buying a new can |
| Add weight to base | $ | 10 min | ★★★★☆ | Lightweight cans |
| Hot glue / silicone | $ | 15 min | ★★★★☆ | DIY enthusiasts |
| Rug or mat | $$ | 2 min | ★★★☆☆ | Aesthetic + function |
| Secure to surface | $ | 20 min | ★★★★★ | Permanent installation |
| In-cabinet trash can | $$$ | 30+ min | ★★★★★ | Total solution |
While fixing the sliding problem, avoid these common mistakes:
If you want the fastest possible fix, here’s a step-by-step guide:
What you’ll need:
Steps:
That’s it! Your trash can should now stay firmly in place on hardwood, tile, or laminate floors.
A trash can that slides across the floor every time you use it is more than just annoying — it’s a safety hazard and a constant source of frustration. Fortunately, as you’ve seen above, the solutions are simple, affordable, and effective.
Whether you go with a quick rubber pad fix, invest in a weighted smart trash can with anti-slip feet, or move the bin into a cabinet, the key is to create enough friction between the can and the floor to keep it stable.
In the end, a trash can that stays put makes your kitchen safer, cleaner, and less frustrating to use. So take five minutes today to try one of these solutions — your floors (and your patience) will thank you.