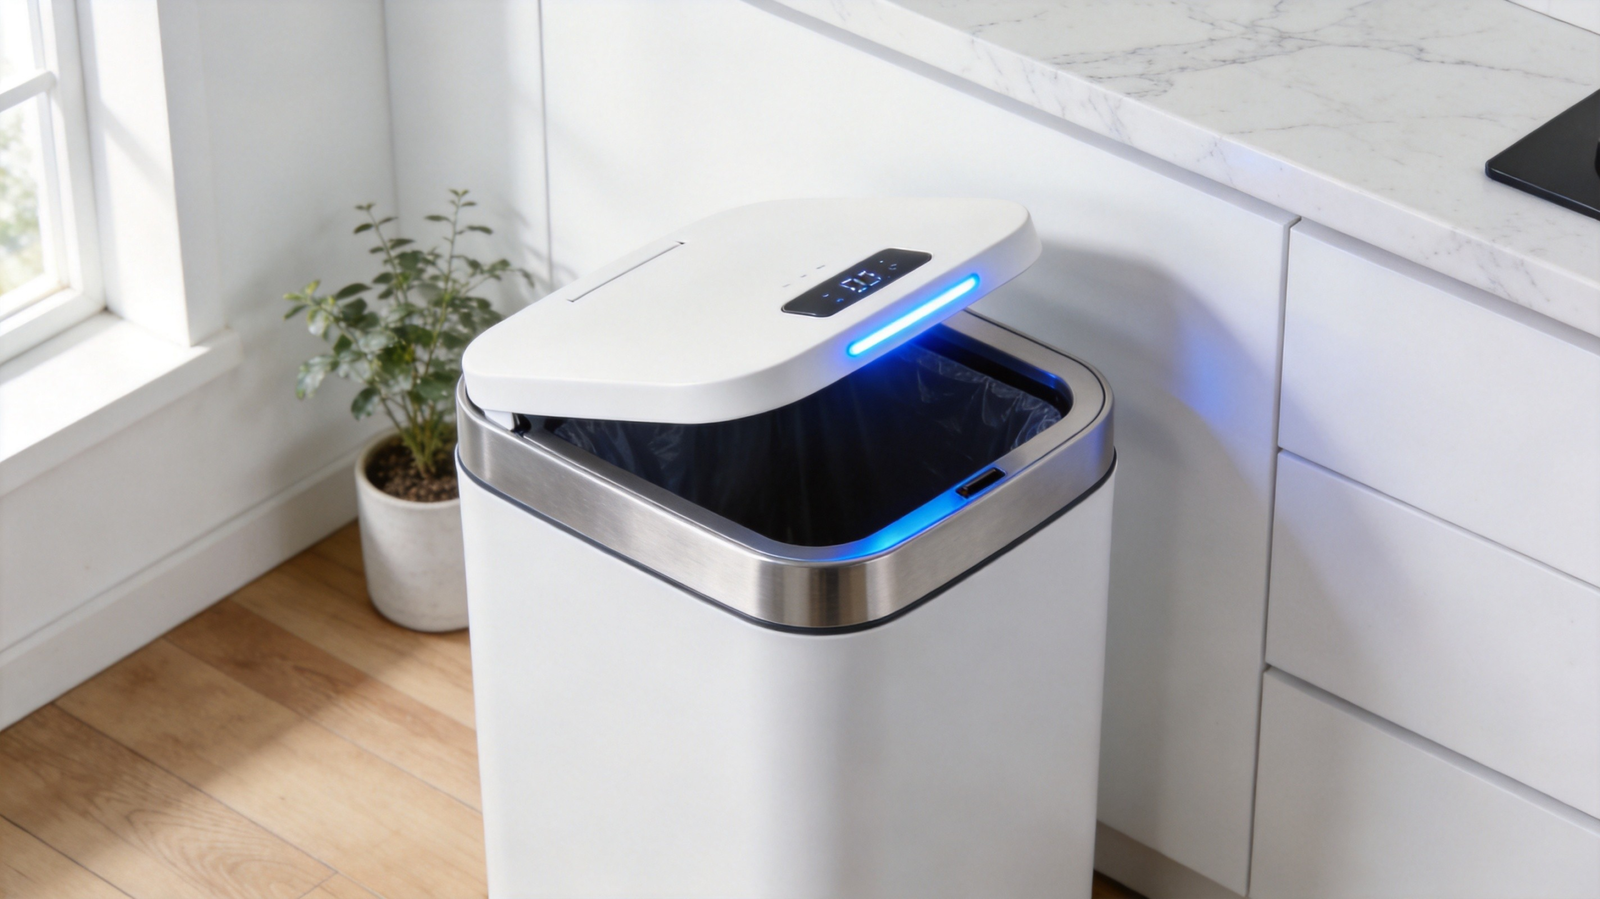
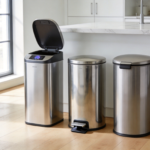
A person cleaning the inside of a trash can to remove sticky residue
You know that gross, tacky layer that builds up inside your trash can over time? The one that smells funky, attracts bugs, and seems to get worse no matter how often you take the trash out? Yeah, that’s sticky residue — and it’s one of the most common (and most overlooked) trash can problems.
Fortunately, getting rid of it isn’t complicated. In this guide, we’ll walk you through exactly how to remove sticky residue from your trash can, what causes it in the first place, and how to prevent it from coming back.
What Causes Sticky Residue in Your Trash Can?
Before tackling the solution, it helps to understand what’s actually sticking to the walls of your bin. In most cases, sticky residue comes from a combination of the following:
Food drippings and juices — Every time you toss out something wet (coffee grounds, fruit scraps, sauce-covered containers), tiny amounts of liquid seep into the trash bag and onto the bin’s inner surface.
Garbage bag leaks — Even small tears in trash bags allow liquids to escape. Over time, these liquids dry and leave behind a tacky film.
Cleaning product buildup — Ironically, using the wrong cleaners can actually create more residue. Sprays that contain waxes or oils leave a film that attracts dirt.
Heat and humidity — In warm weather, residue softens and spreads. That’s also why your trash can tends to smell worse in summer.
Decomposing organic matter — As food particles break down, they release sticky compounds that bond to plastic and metal surfaces alike.
As a result, even if you change bags regularly, the interior of your trash can can still develop an unpleasant, sticky layer.
Supplies You’ll Need
Thankfully, you don’t need any specialty products. Here’s what works best:
For basic cleaning:
Dish soap (grease-cutting formula works best)
Baking soda
White vinegar
Warm water
A scrub brush or old toothbrush
Microfiber cloth or sponge
Rubber gloves
For stubborn residue:
Rubbing alcohol (isopropyl alcohol)
Melamine sponge (Magic Eraser)
Cooking oil or peanut butter (for adhesive-type residue)
Commercial degreaser (optional)
Step-by-Step: How to Remove Sticky Residue
Step 1: Empty and Rinse the Trash Can
First things first — remove the trash bag and give the bin a quick rinse with warm water. This removes loose debris and makes the cleaning solution more effective. If you notice any visible gunk at the bottom, scoop it out with a paper towel before proceeding.
Step 2: Make a Cleaning Paste
Next, mix a paste using baking soda and a small amount of dish soap. The baking soda acts as a gentle abrasive, while the dish soap breaks down grease and grime. Spread the paste generously over all sticky areas — pay special attention to the bottom edges, corners, and anywhere the lid touches the rim.
Step 3: Scrub Thoroughly
Now, using your scrub brush or toothbrush, work the paste into the residue with circular motions. For especially stubborn spots, let the paste sit for 5–10 minutes before scrubbing. This gives the baking soda time to break down the bonded grime.
Step 4: Spray With Vinegar
After scrubbing, spray or pour white vinegar over the paste-covered areas. You’ll notice a fizzing reaction — that’s the vinegar neutralizing the baking soda and lifting dirt from the surface. Let it fizz for about 2–3 minutes.
Step 5: Rinse and Dry Completely
Then, rinse the entire trash can thoroughly with warm water. Make sure all cleaning residue is washed away. After rinsing, dry the bin completely with a microfiber cloth or let it air-dry upside down. This step is crucial — moisture trapped inside can lead to mold and new sticky buildup.
Step 6: Tackle Remaining Stubborn Spots
If any sticky patches remain, try these methods:
Rubbing alcohol: Apply to a cloth and rub the affected area. Alcohol dissolves adhesive-like residue quickly.
Melamine sponge: Dampen the sponge and gently scrub. It works like fine sandpaper without scratching the surface.
Cooking oil: For really tenacious gunk (like sticker residue or tape marks), dab a small amount of cooking oil on the spot, let it sit for a few minutes, then wipe away.
How to Prevent Sticky Residue From Coming Back
Obviously, cleaning once isn’t enough if you want a long-term solution. Here are practical steps to keep your trash can residue-free:
Use high-quality trash bags — Thicker bags with sealed seams prevent leaks. In particular, look for bags labeled “leak-proof” or “drawstring.”
Double-bag messy items — Before tossing out anything particularly wet or messy (like soup leftovers or dirty diapers), seal it in a separate bag first.
Rinse food containers first — A quick rinse before tossing takes seconds and dramatically reduces the amount of residue-causing material in your bin.
Use a trash can liner or deodorizer — A disposable liner or a baking soda sachet at the bottom absorbs moisture and prevents sticky buildup between deep cleans.
Keep the bin in a cool, dry spot — Heat accelerates decomposition and residue formation. Whenever possible, place your trash can away from direct sunlight and heat sources.
Consider upgrading your trash can — If sticky residue is a constant battle, your current bin’s material may be part of the problem. Smooth, non-porous surfaces (like stainless steel) are much less likely to trap grime. You might want to explore smart sensor trash cans with seamless interiors that are easier to wipe down.
Natural Deodorizing Methods After Cleaning
Once you’ve removed the sticky residue, you’ll likely want to make sure your trash can smells fresh too. Here are some easy, natural deodorizing methods that work great after a deep clean:
Baking soda sachet — Place an open box or small cloth bag filled with baking soda at the bottom of the bin (under the trash bag). It absorbs moisture and neutralizes odors continuously.
Essential oil cotton balls — Dab a few drops of tea tree, lavender, or lemon essential oil onto cotton balls and drop them into the bin. Not only do they smell great, but tea tree oil also has natural antibacterial properties.
White vinegar spray — After cleaning, give the interior a light spray with undiluted white vinegar. The vinegar smell dissipates within minutes, and it leaves behind a residue-free surface that’s less likely to attract grime.
Activated charcoal — A small pouch of activated charcoal absorbs both odors and moisture. You can find inexpensive charcoal bags at most hardware stores.
Fresh citrus peels — Toss a few orange or lemon peels into the bottom of the bin (under the bag). The natural citrus oils fight odors and leave a clean scent.
Sometimes, sticky residue isn’t just a cosmetic issue. If you notice any of the following, it may be time to take more serious action:
Persistent foul odor — If the smell lingers even after a deep clean, bacteria may have colonized the bin’s surface. In that case, disinfect with a bleach solution (1 part bleach to 9 parts water).
Visible mold or mildew — Black or green spots indicate mold growth, especially in humid environments. Scrub with vinegar and let the bin dry completely in sunlight.
Pest attraction — Sticky residue is a magnet for fruit flies and other insects. If you’ve noticed bugs around your bin, read our guide on why your trash can attracts fruit flies for targeted solutions.
Cracks or surface damage — If the bin’s interior is scratched or cracked, residue will settle into those grooves and become nearly impossible to remove. At that point, replacing the bin is the best option.
Quick Reference: Best Cleaners for Different Types of Sticky Residue
表格
Residue Type
Best Cleaner
Method
Food juice film
Dish soap + baking soda
Paste and scrub
Adhesive/sticker residue
Cooking oil or rubbing alcohol
Apply, wait, wipe
Grease buildup
Degreaser or vinegar
Spray and wipe
Mold-related stickiness
Bleach solution or vinegar
Disinfect and dry
General grime
Baking soda + vinegar
Fizz and scrub
Final Thoughts
Sticky residue in your trash can is annoying, but it’s totally solvable. With the right cleaning approach — and a bit of regular maintenance — you can keep your bin clean, fresh, and free of that gross tacky buildup.
The key takeaway? Don’t wait until the residue becomes unbearable. A quick monthly deep clean takes about 15 minutes and makes a world of difference. And if you’re tired of fighting with a bin that traps grime, consider upgrading to a model with a smooth, easy-to-clean interior.
Your trash can works hard for you. A little care goes a long way.