Address
304 North Cardinal
St. Dorchester Center, MA 02124
Work Hours
Monday to Friday: 7AM - 7PM
Weekend: 10AM - 5PM
Address
304 North Cardinal
St. Dorchester Center, MA 02124
Work Hours
Monday to Friday: 7AM - 7PM
Weekend: 10AM - 5PM
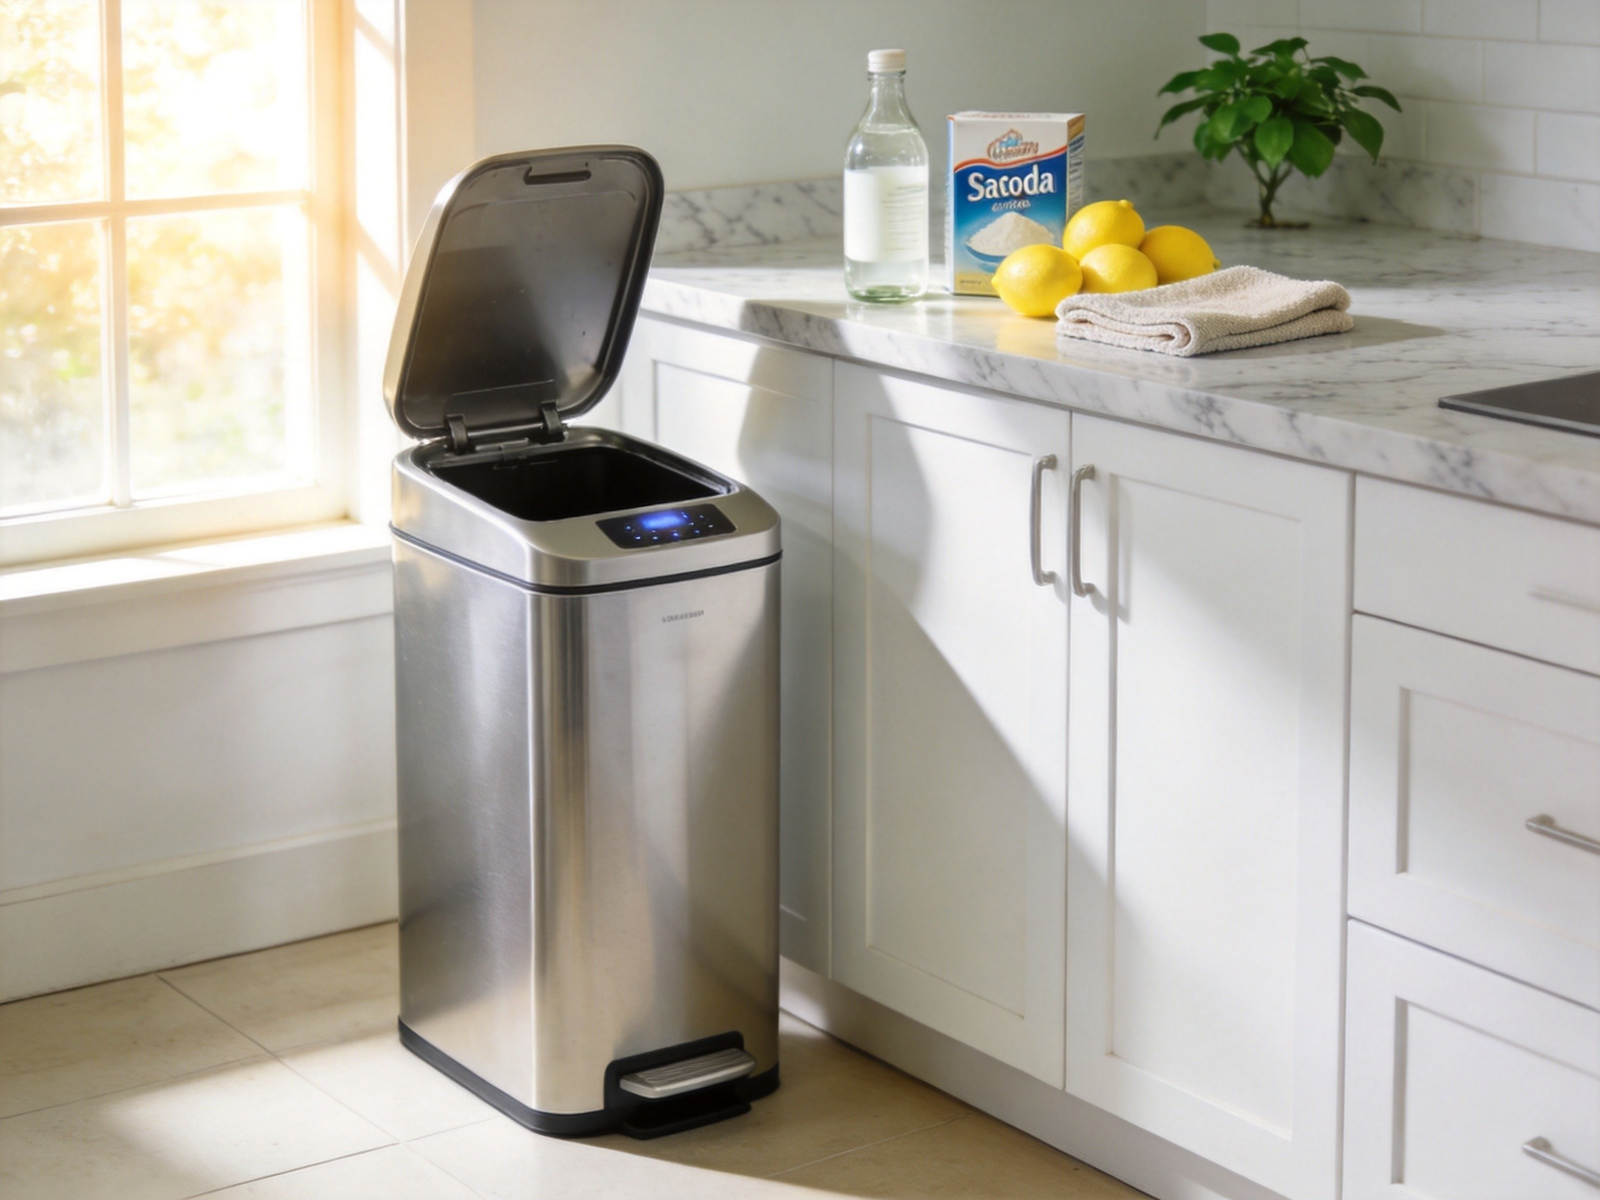
Let’s face it — cleaning the trash can is one of those chores nobody looks forward to. Most people grab the strongest chemical spray they can find, scrub for a few minutes, and call it done. However, those harsh chemical cleaners come with a cost: they release toxic fumes into your home, irritate your skin and respiratory system, and eventually wash into the environment. Consequently, a growing number of homeowners are looking for safer alternatives.
In fact, you can achieve a sparkling-clean, odor-free trash bin using nothing more than common household ingredients. Moreover, these natural methods are often just as effective — if not more so — than their chemical counterparts. Therefore, this guide will walk you through a complete, chemical-free cleaning routine that covers daily maintenance, weekly deep cleaning, natural deodorizing, and long-term preventive habits.
Ultimately, keeping your trash can clean doesn’t have to be complicated or harmful. Let’s get started.
Before diving into the how-to, it’s worth understanding why chemical-free cleaning matters. For instance, bleach-based cleaners release chlorine gas that can cause coughing, headaches, and even long-term respiratory damage when used repeatedly in enclosed spaces. Similarly, ammonia-based products irritate the eyes and lungs, especially in poorly ventilated areas like kitchens and bathrooms.
In addition, chemical residue doesn’t just affect your health — it also impacts the environment. When you rinse these products down the drain, they eventually enter waterways and can harm aquatic life. As a result, many eco-conscious families have already switched to natural cleaning solutions for other areas of the home. The trash can, however, often gets overlooked.
Nevertheless, the trash can is one of the germiest spots in your kitchen. According to microbiological studies, kitchen trash cans harbor bacteria like E. coli, Salmonella, and Staphylococcus aureus. Therefore, regular cleaning is non-negotiable — it’s just that the method of cleaning deserves more attention. If you’re already dealing with persistent odors, you may also want to check out our guide on how to stop your kitchen trash can from smelling for complementary strategies.
To begin with, the simplest way to maintain a clean trash can is a daily quick-clean routine. Specifically, this takes less than two minutes and requires only one ingredient: white vinegar.
Why does this work? White vinegar is naturally antibacterial and antifungal. Furthermore, it neutralizes odors rather than masking them with synthetic fragrances. Besides, it leaves no toxic residue behind — making it safe for households with children and pets.
While the daily vinegar spray handles surface maintenance, a weekly deep clean tackles the grime and bacteria that accumulate over time. Accordingly, this method uses two powerhouse natural cleaners: baking soda and lemon.
For added sanitization, you can also add a few drops of tea tree oil to the baking soda mixture. Tea tree oil has well-documented antimicrobial properties that boost cleaning effectiveness. However, a little goes a long way — 3 to 5 drops is sufficient.
Even after a thorough cleaning, trash cans can develop lingering odors — especially during warmer months. Fortunately, several natural deodorizers can keep your bin smelling fresh between cleanings.
First and foremost, activated charcoal is one of the most effective natural odor absorbers available. It works through adsorption, trapping odor molecules in its porous surface. To use it, simply place a small pouch or sachet of activated charcoal at the bottom of the bin (under the bag). Consequently, you’ll notice a significant reduction in odors for up to two weeks before needing to replace it.
Secondly, dried used tea leaves or spent coffee grounds serve as excellent natural deodorizers. Specifically, spread them on a paper towel and place them at the bottom of the can. Not only do they absorb odors, but they also release a subtle, pleasant aroma. Moreover, this is a brilliant way to repurpose waste that would otherwise go to landfill.
Thirdly, for those who prefer a fresher scent, essential oils offer a chemical-free alternative to synthetic air fresheners. For instance, place 3–5 drops of lavender, eucalyptus, or lemon essential oil on a cotton ball and tuck it under the trash bag liner. As a bonus, eucalyptus and tea tree oils also have natural antibacterial properties, providing a dual benefit.
Lastly, keep a small open box of baking soda at the bottom of the bin. Similar to its function in refrigerators, baking soda in the trash can continuously absorbs and neutralizes acidic and basic odor compounds. Therefore, replacing it every two to three weeks ensures consistent freshness.
If odors persist despite these methods, the problem might run deeper. In that case, check out our article on why your trash can attracts fruit flies — and how to eliminate them for good.
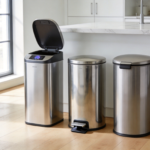
Admittedly, the material of your trash can plays a significant role in how easily it stays clean. Specifically, stainless steel trash cans offer several advantages when it comes to chemical-free maintenance.
To start with, stainless steel has a non-porous surface, which means bacteria and odors cannot penetrate the material. In contrast, plastic bins are slightly porous, allowing odor-causing bacteria to embed themselves in microscopic surface irregularities. Consequently, plastic cans tend to retain smells even after cleaning, while stainless steel cans can be fully sanitized with natural methods.
Furthermore, stainless steel resists staining. For example, tomato sauce, turmeric, and other staining substances wipe right off without leaving marks. On the other hand, plastic bins often develop permanent discoloration over time.
Moreover, the smooth surface of stainless steel means that natural cleaners like vinegar and baking soda work more efficiently. There’s no need for stronger concentrations or extended soaking times. Simply put, a quick wipe is often all it takes.
This is exactly why the Elylife smart sensor trash can was designed with a premium stainless steel body. Its fingerprint-resistant finish not only looks elegant but also makes daily wipe-downs effortless. In addition, its touchless sensor operation means you never have to touch the lid — therefore, reducing the transfer of germs from your hands to the can and back. Compared to traditional step-on or swing-top models, touchless cans like the Elylife compared to other smart trash can brands keep things significantly more hygienic with minimal effort.
Beyond cleaning and deodorizing, building a few simple habits can dramatically reduce how often you need to deep-clean your trash can. Here are the most effective preventive measures:
Above all, a sturdy, leak-proof trash bag is your first line of defense. When liquids leak through thin bags, they pool at the bottom of the can and create a breeding ground for bacteria. Accordingly, invest in bags that are thick enough to handle food waste without tearing.
Whenever you’re disposing of particularly messy items — raw meat packaging, saucy takeout containers, or oily food scraps — wrap them in a separate bag before placing them in the main bin. As a result, you prevent direct contact between food residue and the can’s interior.
Overlooking this simple step is one of the most common causes of trash can contamination. When trash overflows, food particles fall behind the can and onto the floor. Subsequently, this creates a mess that’s harder to clean and attracts pests.
Although it may seem like extra work, quickly rinsing containers before tossing them makes a remarkable difference. Consequently, less food residue ends up in the bin, which means fewer odors, fewer bacteria, and less frequent deep cleaning.
Finally, don’t forget the floor and wall behind the trash can. Regularly wiping these areas with your vinegar spray prevents the spread of germs and keeps the entire zone hygienic. In the same way that you maintain the can itself, the surrounding area deserves equal attention.
In summary, keeping your trash can clean without harsh chemicals is entirely achievable — and honestly, it’s better for your health, your home, and the environment. Here’s a quick recap of the routine:
表格
| Frequency | Action | Key Ingredients |
|---|---|---|
| Daily | Quick spray and wipe | White vinegar + water |
| Weekly | Deep scrub and sanitize | Baking soda + lemon |
| Ongoing | Natural deodorizing | Activated charcoal, essential oils, or coffee grounds |
| Always | Preventive habits | Quality liners, rinsing containers, double-bagging |
Ultimately, the goal isn’t perfection — it’s consistency. By incorporating these simple, natural steps into your routine, you’ll maintain a fresh, hygienic trash can without ever reaching for a chemical spray again.
So, next time you think about grabbing that bleach bottle under the sink, remember: your kitchen already has everything you need. And if you’re ready to upgrade your trash can game, a stainless steel smart sensor trash can from Elylife makes the whole process even easier.


[…] How to Keep Your Trash Can Clean Without Harsh Chemicals […]
[…] How to Keep Your Trash Can Clean Without Harsh Chemicals […]
[…] For more tips on keeping your trash area clean, check out our guide on how to keep your trash can clean without harsh chemicals. […]
[…] more cleaning advice, our guide on how to keep your trash can clean without harsh chemicals offers practical, non-toxic methods. You might also find our comparison of indoor vs […]
[…] Clean the trash can regularly. Even the best trash can needs periodic cleaning. For a natural approach, read our guide on how to keep your trash can clean without harsh chemicals. […]
[…] Your trash can itself is likely harboring bacteria and residue that contribute to the carpet smell. A monthly deep clean with warm soapy water (or a natural vinegar solution) keeps the can itself from being an odor source. For a detailed, chemical-free approach, check out our guide on how to keep your trash can clean without harsh chemicals. […]
[…] a complete chemical-free cleaning routine, our guide on how to keep your trash can clean without harsh chemicals provides several effective […]