Address
304 North Cardinal
St. Dorchester Center, MA 02124
Work Hours
Monday to Friday: 7AM - 7PM
Weekend: 10AM - 5PM
Address
304 North Cardinal
St. Dorchester Center, MA 02124
Work Hours
Monday to Friday: 7AM - 7PM
Weekend: 10AM - 5PM
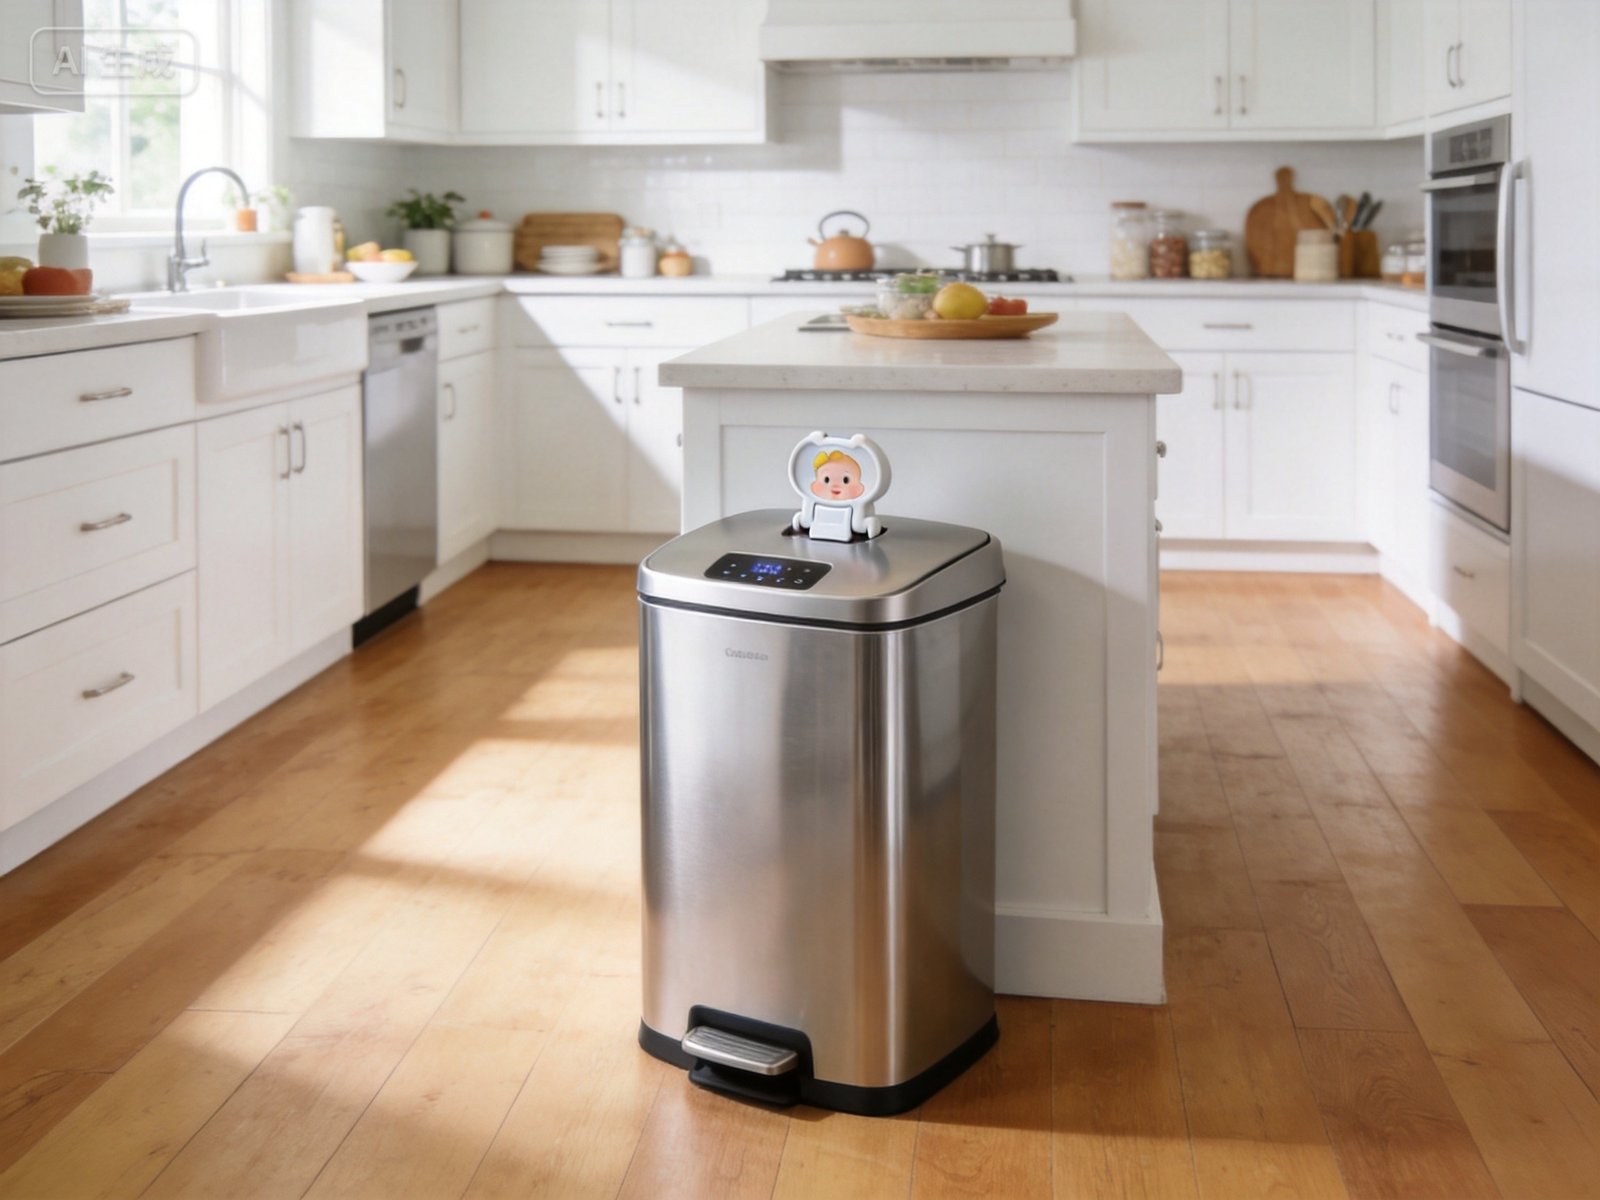
If you’ve recently welcomed a little one into your home, you’ve probably noticed something: babies are fascinated by the kitchen trash can. They’ll crawl straight toward it, grab the lid, and try to pull themselves up using it as a support. And honestly, who can blame them? The lid moves, it makes a noise, and — let’s be real — it’s full of interesting (if unsanitary) treasures.
However, a kitchen trash can can pose several safety risks for babies and toddlers. From sharp lid edges to exposure to hazardous waste, there are plenty of reasons to baby-proof your trash can before your little one starts crawling. Fortunately, this is a surprisingly easy fix — and in this guide, we’ll walk you through every step.
Most parents think about locking cabinets, covering outlets, and securing heavy furniture. But the trash can? It often gets overlooked. In fact, a trash can can be one of the most hazardous items in your kitchen for a curious baby. Here’s why:
Your trash can likely contains anything from broken glass and sharp can lids to cleaning product residue, spoiled food, and even small batteries. Consequently, if your baby gets into the trash, they could easily come into contact with dangerous items.
Small food wrappers, bottle caps, twist ties, and rubber bands are common trash items that pose serious choking risks for infants and toddlers. Moreover, babies explore the world by putting things in their mouths — making the trash can an especially dangerous plaything.
Trash cans harbor bacteria, mold, and other pathogens. As a result, babies who crawl near or play with the trash can are more likely to pick up germs that can cause illness — particularly if they touch the trash and then put their hands in their mouths.
Lightweight or top-heavy trash cans can easily topple over when a baby pulls on the lid or climbs on them. Therefore, a tipping trash can can cause injuries or scatter dangerous contents across the floor.
Now that you understand the risks, let’s get practical. Below are the most effective ways to keep your baby safe around the kitchen trash can — ranked from easiest to most thorough.
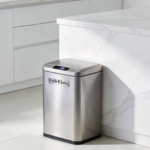
First and foremost, the simplest solution is to choose a trash can that already has a built-in locking mechanism. Many modern smart sensor trash cans feature soft-close lids that remain sealed until activated. Additionally, some models include a manual lock switch that prevents the lid from opening accidentally.
Why this works: A locking lid physically prevents your baby from prying the can open, even if they tug on it.
What to look for:
Pro tip: The Elylife sensor trash can lineup includes several models with sealed lids and sensor-activated opening — making them inherently more baby-resistant than traditional swing-top or open-top cans.
If your current trash can doesn’t have a built-in lock, you can add one. Baby-proofing latches — the same kind you use on cabinets — work surprisingly well on trash cans.
Here’s how:
Furthermore, this method is budget-friendly and reversible, making it ideal for renters or those who don’t want to replace their existing can.
Sometimes, the best baby-proofing strategy isn’t about the can itself — it’s about where you put it. If your trash can is behind a baby gate, inside a pantry with a locked door, or tucked behind a cabinet panel, your baby simply can’t access it.
Effective placement strategies include:
On the other hand, if you keep your trash can in an open area near the kitchen island, it’s much more accessible to a crawling baby. Therefore, consider relocating it to a less accessible spot, at least during the baby-proofing phase.
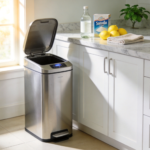
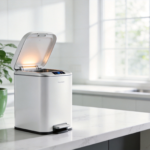
Foot-pedal trash cans are popular because they’re hands-free. However, babies quickly learn that stepping on the pedal opens the lid — and they find this endlessly entertaining.
If you prefer a pedal can, here’s how to make it safer:
Alternatively, you might consider switching to a touchless sensor trash can instead. These models open with an infrared motion sensor — which adults can trigger with a wave of the hand, but babies typically can’t figure out how to activate consistently.
A safety strap is a simple elastic or fabric band that wraps around the trash can to hold the lid closed. Essentially, it works like a seatbelt for your trash can.
How to use one:
Safety straps are inexpensive, widely available, and especially effective for tall, narrow trash cans that babies might try to climb on.
One of the most permanent baby-proofing solutions is to move your trash can entirely out of reach. Under-sink trash pull-outs and in-cabinet trash bins are excellent options.
Benefits of in-cabinet trash cans:
If you’re considering this route, you’ll want a compact sensor trash can that fits inside standard base cabinets (typically 12–18 inches wide). The Elylife B112 12L Sensor Bin is an excellent fit for under-sink installations, offering hands-free operation in a slim profile.
Finally, if your toddler is old enough to understand basic rules, you can combine physical barriers with verbal guidance to create a “no-play zone” around the trash can.
Strategies that work:
Over time, most toddlers learn to respect this boundary — especially when the trash can doesn’t offer an easy or rewarding way to open it.
While the methods above are effective, there are a few common mistakes that can actually make things worse:
表格
| ❌ Don’t | ✅ Do Instead |
|---|---|
| Use duct tape to seal the lid | Use proper baby-proofing latches designed for repeated use |
| Leave the trash can unattended with hazardous waste | Empty hazardous items immediately or use a separate locked container |
| Rely solely on a swing-top lid | Choose a locking, sensor, or latched model |
| Place the trash can near high chairs or stools | Keep it away from anything a baby could climb on |
| Forget about the recycling bin too | Baby-proof all waste bins, not just the main trash |
Here’s a quick summary to make sure you’ve covered all the bases:
Generally speaking, you should baby-proof your trash can as soon as your baby starts crawling — usually around 6 to 10 months. However, some babies show interest in the trash can even before they crawl, so it’s worth setting things up earlier if you notice them reaching for it.
As for when to stop: Most children outgrow the “trash can is fascinating” phase by age 2 to 3. By that point, you can gradually remove locks and latches. That said, if your child has a habit of getting into the trash, you might want to keep the locking mechanism in place a bit longer.
Baby-proofing your kitchen trash can doesn’t have to be complicated or expensive. Whether you choose a locking trash can, add a safety latch, relocate the bin, or combine several strategies, the most important thing is to start before your baby becomes mobile.
Ultimately, the best baby-proofing solution is one that you’ll actually stick with. A touchless sensor trash can with a sealed lid offers the perfect balance of convenience for adults and safety for babies — and it eliminates the need for aftermarket latches and straps altogether.
Your kitchen should be a safe, welcoming space for your growing family. So take 10 minutes today to baby-proof that trash can, and you’ll have one less thing to worry about.