Address
304 North Cardinal
St. Dorchester Center, MA 02124
Work Hours
Monday to Friday: 7AM - 7PM
Weekend: 10AM - 5PM
Address
304 North Cardinal
St. Dorchester Center, MA 02124
Work Hours
Monday to Friday: 7AM - 7PM
Weekend: 10AM - 5PM
There’s a particular kind of kitchen smell that everyone recognizes but nobody talks about — that sour, musty, slightly swampy odor that seems to radiate from your trash area no matter how often you empty the bin. That’s the dreaded “wet trash” smell, and it’s caused by a combination of moisture, food residue, and bacterial growth that simple bag-swapping can’t fix.
If you’ve been searching for how to get rid of that wet trash smell in your kitchen, you’re in the right place. Below, we’ll break down exactly why this happens and give you a step-by-step plan to eliminate it — for good.
To solve the problem, we first need to understand what’s creating it. Basically, the wet trash smell comes from a chain reaction:
Consequently, the smell gets worse over time, and by the time you notice it, the bacteria colony is well-established. That’s why simply taking out the trash isn’t enough — you need to address the moisture and bacteria at the source.
First and foremost, you need to stop moisture from accumulating in the trash bin. Here are the most effective strategies:
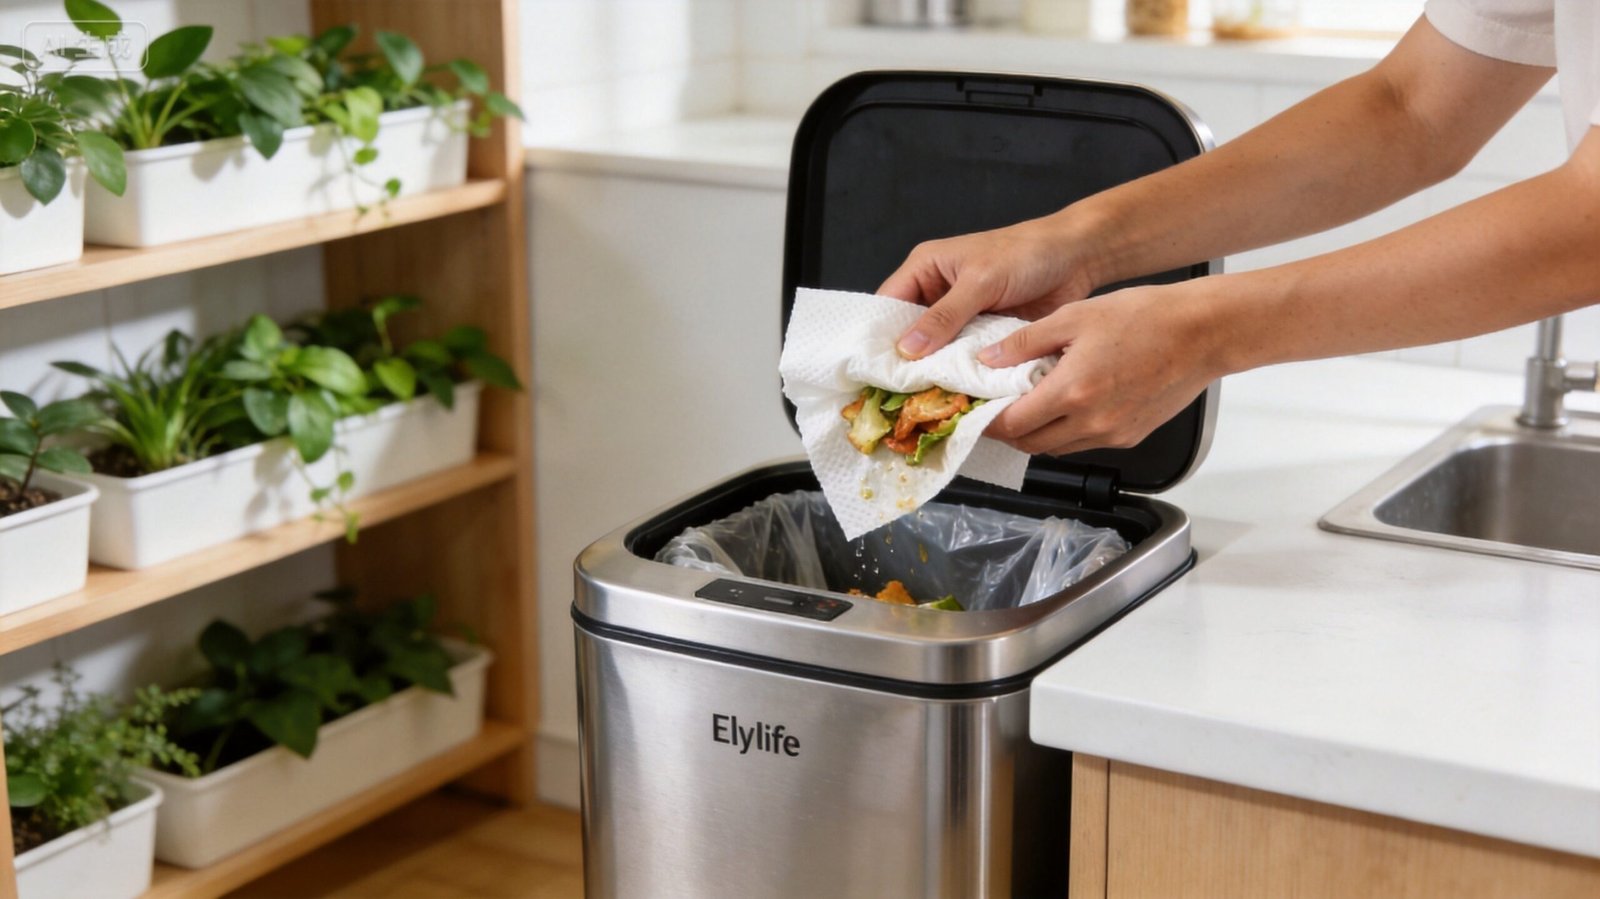
Before throwing away anything wet, juicy, or drippy — think watermelon rinds, tomato cores, or leftover soup — wrap it in a paper towel or place it in a small produce bag first. This simple step prevents liquid from pooling at the bottom of the bin.
For particularly wet or smelly waste (like meat packaging, fish scraps, or dairy products), use a separate small bag before placing it in the main trash. Then, tie it off securely before dropping it into the main bin.
If you generate a lot of fruit and vegetable scraps, consider using a small countertop compost bin for those items instead. This way, the wettest waste never enters your main trash can in the first place.
Once you’ve addressed the moisture issue, it’s time to clean out the existing bacteria colony. Here’s how to do it properly:
For a more detailed walkthrough, you can also check our guide on how to keep your trash can clean without harsh chemicals, which covers natural cleaning solutions that work just as well as chemical cleaners.
After cleaning, you need to prevent moisture from building up again. Here are several natural moisture absorbers that work well inside the trash bin:
Whichever method you choose, the goal is to keep the interior environment as dry as possible — because no moisture means no bacterial growth, and no bacterial growth means no smell.
Now that the bin is clean and dry, it’s time to add a layer of ongoing odor protection. Here are the best natural options:
Mix ½ cup of baking soda with 10–15 drops of essential oil (tea tree, lemon, or eucalyptus are excellent choices). Store the mixture in a small jar with a perforated lid and place it inside the trash can or in the cabinet below. This provides continuous freshness for 2–3 weeks.
Keep a spray bottle filled with a 50/50 vinegar-water solution under your sink. Whenever the bin starts to smell, give the interior a quick spritz. The vinegar neutralizes odors on contact, and the smell dissipates within minutes.
Save your orange and lemon peels, dry them in the oven, and store them in a small cloth bag inside the bin. The natural citrus oils provide a subtle, clean scent while also helping to repel insects.
For more natural deodorizing strategies, our article on the best ways to deodorize your trash can naturally covers 10 different methods in detail.
Sometimes, the wet trash smell persists because the trash can itself isn’t designed to manage moisture effectively. Here’s what to look for:
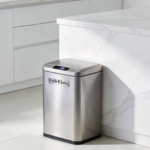
A bin that doesn’t seal properly allows odor molecules to escape freely into your kitchen. In contrast, a well-designed sensor trash can with an automatic closing mechanism seals in odors immediately. The Elylife Smart Sensor Trash Can, for instance, features an infrared sensor that opens the lid hands-free and closes it tightly within seconds — preventing odor escape while also keeping the interior more hygienic.
Stainless steel bins are generally more odor-resistant than plastic ones, because stainless steel doesn’t absorb smells over time. Additionally, it’s easier to clean and less prone to developing scratches where bacteria can hide.
If your trash can is too large for your household’s waste output, trash sits in the bin longer before the bag is full — giving odors more time to develop. On the other hand, a correctly sized bin encourages more frequent bag changes. If you have a small kitchen, check out our guide on the best smart trash cans for small kitchens and apartments to find the right fit.
Once you’ve eliminated the smell, consistency is key. Here’s a simple maintenance routine to keep it from returning:
表格
| Task | Frequency |
|---|---|
| Replace trash bag | When full or every 2–3 days |
| Wipe bin interior with vinegar spray | Weekly |
| Deep clean the entire bin | Monthly |
| Replace baking soda/deodorizer | Every 2 weeks |
| Check for leaks or drips under the bin | Weekly |
By following this schedule, you’ll catch potential problems before they become full-blown odor situations.
Avoid these pitfalls if you want to keep the wet trash smell at bay:
In some cases, no amount of cleaning will eliminate the smell — because the odor has been absorbed into the material itself. This is especially common with older plastic bins that have developed micro-scratches over time. If your bin is more than 3–5 years old and still smells after a thorough deep clean, it may be time for a replacement.
Getting rid of that wet trash smell in your kitchen comes down to a three-part approach: reduce moisture, eliminate bacteria, and maintain freshness. It doesn’t require expensive products — just a consistent routine and a few smart habits.
Start with a deep clean, implement moisture control strategies, and choose a quality trash can that helps rather than hinders your efforts. With these steps in place, you’ll enjoy a fresh-smelling kitchen every single day.