Address
304 North Cardinal
St. Dorchester Center, MA 02124
Work Hours
Monday to Friday: 7AM - 7PM
Weekend: 10AM - 5PM
Address
304 North Cardinal
St. Dorchester Center, MA 02124
Work Hours
Monday to Friday: 7AM - 7PM
Weekend: 10AM - 5PM
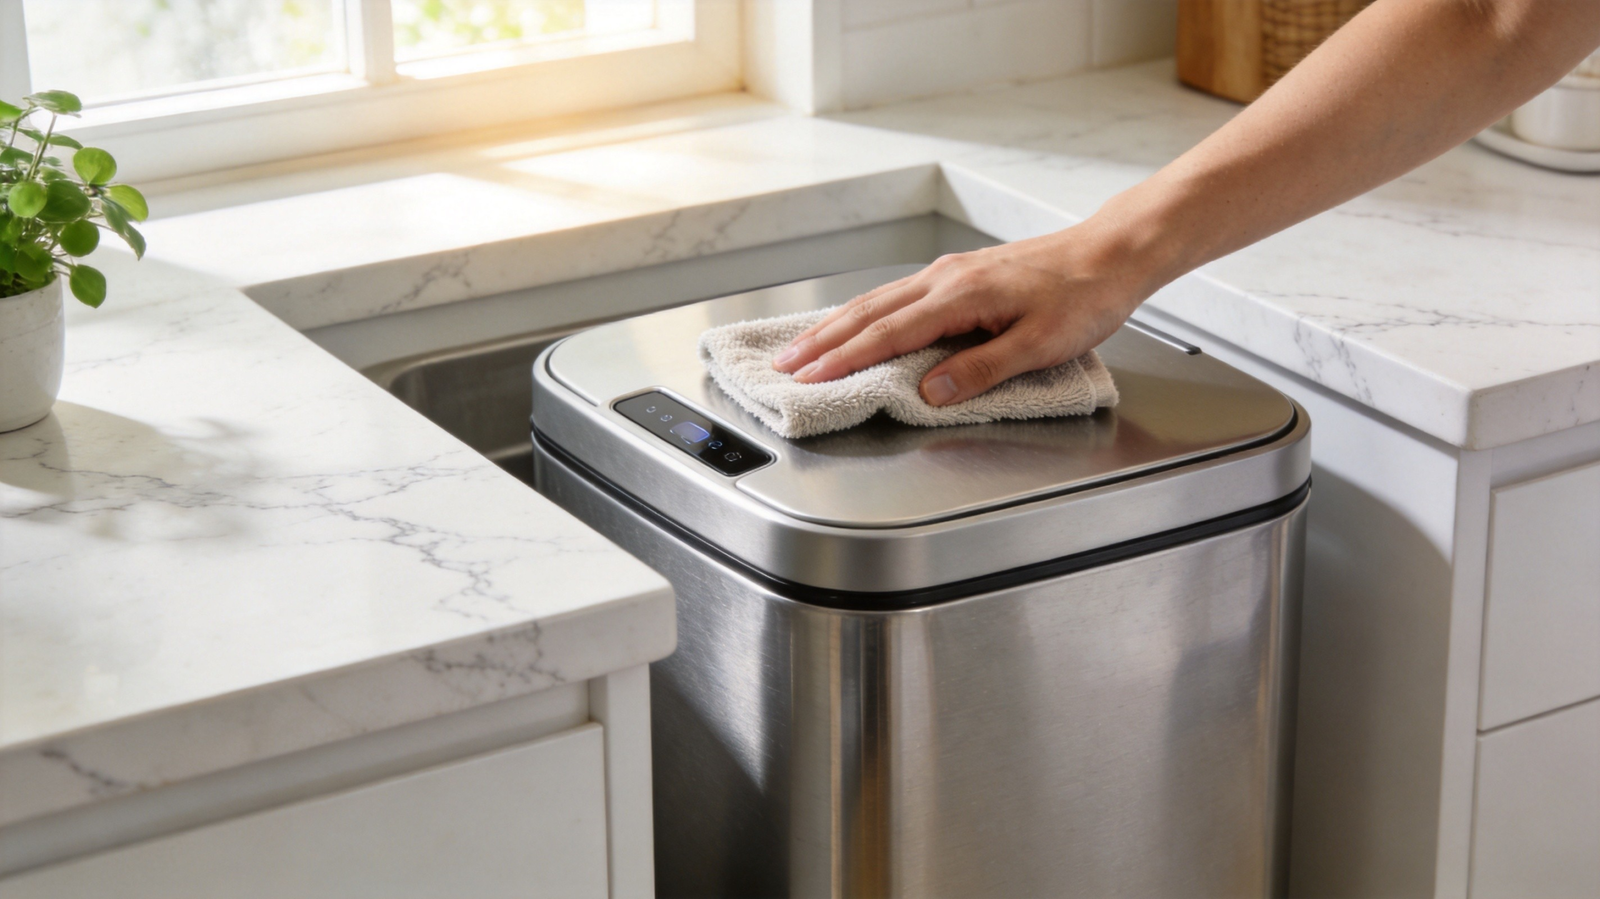
Your smart sensor trash can opens with a wave of your hand, seals tightly to block odors, and makes kitchen cleanup feel effortless. But like every device with moving parts and electronic sensors, it needs a little maintenance to keep performing at its best.
Here’s the truth most owners discover too late: a smart trash can that isn’t properly maintained starts acting dumb. The sensor lags. The lid hesitates. The seal weakens. And suddenly, you’re dealing with the exact problems you bought the bin to avoid.
The good news? Proper maintenance takes less than 10 minutes per month — and it extends the lifespan of your sensor trash can by years. This guide covers everything you need to know about cleaning, maintaining, and troubleshooting your smart sensor trash can so it keeps working like day one.
Smart sensor trash cans combine three systems that each require attention:
When any one of these systems degrades, the entire user experience suffers. A dirty sensor window causes delayed response. A worn gasket lets odors escape. Corroded battery contacts cause intermittent power failures. None of these issues mean the bin is broken — they all resolve with simple, routine maintenance.
According to consumer durability studies, smart trash cans that receive basic monthly maintenance retain full functionality for 5-8 years, compared to 2-3 years for units that are never maintained. That’s the difference between a worthwhile investment and an expensive frustration.
The infrared sensor is the brain of your smart trash can. It’s a small window — usually located on the front or top of the lid — that emits and receives infrared light to detect motion. When this window gets dirty, the sensor can’t “see” properly.
What you’ll need:
Step 1: Power off the bin. Remove the battery pack or turn off the power switch. This prevents false triggers during cleaning and protects the electronics.
Step 2: Wipe the sensor window gently. Using the dry microfiber cloth, wipe the sensor window in a circular motion. Apply light pressure — the sensor window is typically made of acrylic or polycarbonate, which scratches easily.
Step 3: Remove stubborn residue. If there’s sticky residue (from cooking spray, cleaning product overspray, or food splatter), dampen a corner of the cloth with a small amount of isopropyl alcohol (70% concentration). Wipe the sensor window, then immediately dry with the clean portion of the cloth.
Step 4: Clear the crevices. Use compressed air or a dry cotton swab to remove dust from the edges of the sensor window. Dust accumulation in the bezel around the sensor can interfere with the infrared beam.
What to avoid:
Frequency: Clean the sensor window every 2-4 weeks in a kitchen environment, or monthly in bathrooms and offices.
The sealed lid is what separates a smart trash can from a basic motorized bin. The silicone gasket around the lid perimeter creates an airtight barrier that traps odors, moisture, and allergens inside the bin.
The silicone gasket is durable but not indestructible. Over time, food particles, grease, and cleaning chemicals can degrade it. Here’s how to keep it in top condition:
The motorized hinge mechanism moves hundreds of times per week. Over 6-12 months, the pivot points can develop friction or a slight grinding sound.
Solution: Apply a single drop of silicone-based lubricant (not WD-40 or petroleum-based oil) to each hinge pivot point. Open and close the lid manually 5-6 times to distribute the lubricant. This takes 60 seconds and should be done every 3-6 months.
Why silicone-based lubricant? It doesn’t attract dust, doesn’t degrade plastic or rubber components, and remains stable across temperature ranges. Petroleum-based lubricants can actually damage the plastic gears in the hinge mechanism.
Whether your Elylife sensor bin runs on AA batteries or a built-in rechargeable cell, power management directly impacts performance.
Battery selection matters. Use high-quality alkaline or lithium AA batteries. Avoid:
Optimizing battery life:
Typical battery life: 4-6 months with standard alkaline batteries under normal household use (20-30 lid activations per day).
Even with perfect maintenance, issues can arise. Here’s how to diagnose and fix the most common problems.
Likely causes and fixes:
表格
| Cause | Solution |
|---|---|
| Dirty sensor window | Clean with microfiber cloth (see above) |
| Dead or weak batteries | Replace all batteries simultaneously |
| Sensor blocked by debris | Use compressed air to clear the sensor housing |
| Bin in direct sunlight | Relocate — UV interference disrupts infrared detection |
| Sensor sensitivity too low | Adjust sensitivity setting (refer to user manual) |
Likely causes and fixes:
表格
| Cause | Solution |
|---|---|
| Reflective surface near sensor | Move bin away from shiny appliances or mirrors that reflect IR |
| Sunlight hitting sensor window | Relocate bin or adjust angle — direct IR from sunlight triggers false reads |
| Insects near sensor | Clean area; insects are attracted to the warmth of the IR LED |
| Sticky sensor residue | Clean sensor with isopropyl alcohol to remove film causing scattered IR |
Likely causes and fixes:
表格
| Cause | Solution |
|---|---|
| Low battery power | Replace batteries — motor torque drops with voltage |
| Hinge needs lubrication | Apply silicone lubricant to pivot points |
| Gasket creating excessive friction | Clean and dry gasket channel; check for deformation |
| Bin on uneven surface | Level the bin — uneven placement binds the hinge mechanism |
Likely causes and fixes:
表格
| Cause | Solution |
|---|---|
| Gasket damaged or displaced | Reseat or replace gasket |
| Lid not closing fully | Check for trash bag overhang preventing full closure |
| Debris in gasket channel | Clean channel thoroughly |
| Motor not applying enough force | Replace batteries; if persistent, contact support for motor check |
Here’s a simple checklist that keeps your smart sensor trash can in peak condition. The entire routine takes under 10 minutes.
表格
| Task | Frequency | Time | Priority |
|---|---|---|---|
| Wipe sensor window with dry microfiber cloth | Every 2-4 weeks | 30 seconds | Critical |
| Clean gasket channel and inspect seal | Weekly | 1 minute | Critical |
| Wipe exterior with damp cloth | Weekly | 1 minute | High |
| Check and replace batteries as needed | Every 4-6 months | 2 minutes | High |
| Lubricate hinge pivot points with silicone lubricant | Every 3-6 months | 1 minute | Medium |
| Deep clean interior with vinegar solution | Monthly | 3 minutes | High |
| Inspect trash bag fit and ensure no overhang | With each bag change | 15 seconds | Medium |
| Check for firmware updates (WiFi-enabled models) | Quarterly | 1 minute | Low |
The right trash bag improves both performance and longevity of your smart bin. Here’s what to look for:
Size correctly: An oversized bag bunches up around the gasket, preventing a proper seal and straining the motor. An undersized bag slips down and exposes the rim. Most Elylife bins are designed for standard 13-gallon kitchen bags — check your model’s manual for exact dimensions.
Choose drawstring bags: Drawstring closure lets you cinch and lift the bag without touching the contents. This maintains the hygiene advantage of your touch-free bin through the entire emptying process.
Avoid ultra-thin bags below 0.9 mil: Thin bags tear more easily, especially when removing waste with sharp edges. A torn bag leaks liquids into the bin interior, accelerating corrosion and odor buildup.
Consider odor-control bags: Bags with baking soda or charcoal infusion complement the sealed lid design by providing a secondary odor barrier. For a deeper guide on managing bin odors, check our Summer Trash Can Odor Control article.
Where you place your smart sensor trash can directly impacts how reliably the sensor works. Here are key placement guidelines:
Do:
Avoid:
For more placement strategies tailored to different rooms, our guide on How to Get the Most Out of Your Elylife Sensor Bin: 10 Expert Tips covers room-by-room optimization.
Not every issue is user-serviceable. Here’s a quick decision guide:
DIY-fixable issues: Dirty sensor, weak batteries, gasket residue, hinge friction, uneven placement, bag overhang.
Contact Elylife support for: Motor that makes grinding noises (not just friction — actual grinding), sensor that doesn’t respond after battery replacement and thorough cleaning, lid that won’t close fully despite a clean gasket and fresh batteries, WiFi connectivity issues on smart models, cracked or physically damaged sensor window.
Most Elylife products come with a 1-2 year warranty covering motor and sensor defects. Regular maintenance documented with dates can help support claims.
A well-maintained smart sensor trash can is one of those investments that keeps paying dividends — touch-free convenience, sealed odors, and reliable performance for years. Spend 10 minutes this month on the routine above, and your Elylife bin will keep working like the day you brought it home.