Address
304 North Cardinal
St. Dorchester Center, MA 02124
Work Hours
Monday to Friday: 7AM - 7PM
Weekend: 10AM - 5PM
Address
304 North Cardinal
St. Dorchester Center, MA 02124
Work Hours
Monday to Friday: 7AM - 7PM
Weekend: 10AM - 5PM
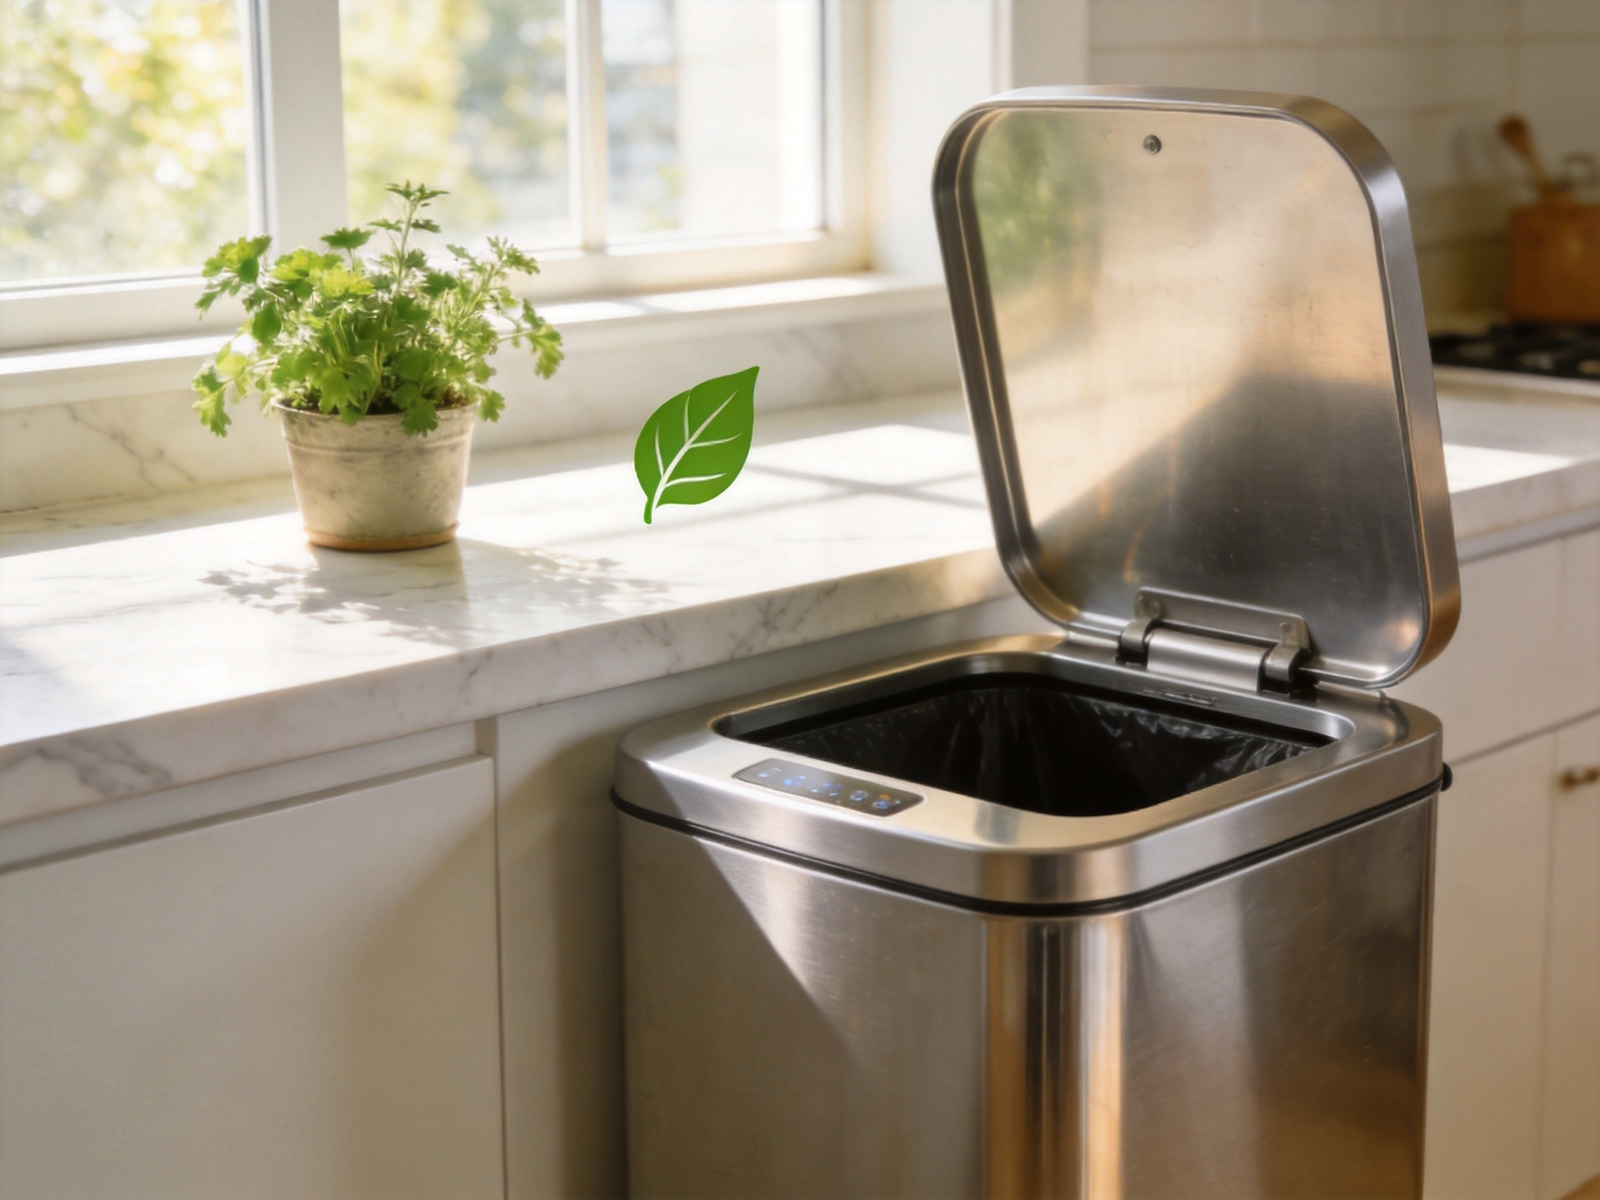
Nothing ruins a perfectly good kitchen faster than that smell. You know the one — a sour, swampy stench that seems to seep out of your trash can no matter how often you take the garbage out. And if you’ve ever dealt with a trash can that smells during the summer months, you already know the problem gets exponentially worse when the temperature rises.
In fact, according to the USDA, bacterial growth doubles every 20 minutes at room temperature — and even faster when summer heat kicks in. That means your kitchen trash can isn’t just holding garbage. It’s essentially a breeding ground for odor-causing bacteria, mold, and fungi.
The good news? You don’t need expensive products or extreme measures to fix this. Below, we break down exactly why your trash can smells, what makes summer worse, and — most importantly — the step-by-step strategies that actually work.
Before you can stop the smell, you need to understand where it comes from. A smelly trash can is almost never just about the garbage itself. It’s a combination of factors:
For instance, every time you toss food scraps into the bin, microscopic particles cling to the inside walls and bottom of the can. Over time, these residues decompose and release volatile organic compounds (VOCs) — the chemical culprits behind that unmistakable rotting smell.
Specifically, the warm, moist environment inside a kitchen trash can is ideal for bacterial proliferation. In fact, a study on kitchen microbial contamination found that trash cans consistently rank among the top germ hotspots in the home — even higher than kitchen sponges in some cases.
Additionally, food packaging, half-empty sauce bottles, and wet food scraps all drip liquids into the bottom of the bin. These pooled liquids — a mix of fats, sugars, and proteins — are practically a feast for odor-producing microbes.
Furthermore, if your trash can sits in a closed cabinet or a poorly ventilated corner, the smell has nowhere to go. Consequently, it accumulates, concentrates, and eventually permeates the entire kitchen.
Moreover, thin, ill-fitting trash bags tear easily and allow liquids to seep through. As a result, without a reliable barrier between the waste and the can itself, odors become virtually unavoidable.
Summer doesn’t create new problems — in reality, it amplifies existing ones. Here’s why your trash can seems to smell 10 times worse in July than in January:
Understanding these seasonal factors is key to building a strategy that works year-round, not just in cooler months.
Admittedly, this is the most obvious fix, and it’s the one most people skip. During summer, aim to empty your kitchen trash every day — or at minimum, every other day. Food scraps sitting in a warm kitchen for 48+ hours are practically guaranteed to start decomposing.
Pro tip: If you can’t take the trash out daily, alternatively separate food waste into a sealed compost bin or a small countertop container with a carbon filter, and reserve your main bin for non-food trash.
Unfortunately, most people change the bag but never clean the can. That’s a mistake. The inside walls and bottom of your bin accumulate residue with every use. Here’s a simple cleaning routine:
In fact, not all trash bags are created equal. For kitchen use, you want:
Our complete trash bag guide for smart sensor trash cans breaks down how to choose the right size, material, and fit for your specific bin model.
Interestingly, this is a trick that professional chefs and restaurant kitchens use: freeze smelly food scraps before putting them in the trash. Fish heads, shrimp shells, meat trimmings, and strong-smelling produce like onions and broccoli can all go into a freezer bag first. By the time you’re ready to take the trash out, the frozen scraps won’t have had time to decompose or release odors.
Fortunately, you don’t need chemical sprays to keep your trash can smelling fresh. These natural options work surprisingly well:
Ultimately, one of the most effective long-term solutions to trash can odor is simply upgrading to a bin with a proper sealing mechanism. A well-designed smart sensor trash can with a tight-sealing lid creates an airtight barrier that traps odors inside the bin instead of letting them escape into your kitchen.
Additionally, touchless sensor bins offer a bonus benefit: because you never have to touch the lid, you’re less likely to leave the bin open longer than necessary. The lid opens and closes automatically, maintaining the seal and keeping odors contained.
If you’re evaluating different models, moreover, our Elylife vs simplehuman comparison breaks down how the two most popular smart bin brands stack up for odor control and overall performance.
Of course, prevention is always better than cure. A few small habits can dramatically reduce how fast your trash starts to smell:
表格
| Action | Frequency |
|---|---|
| Empty the trash | Daily (summer) / Every 2 days (winter) |
| Wipe interior with vinegar solution | Weekly |
| Deep clean and disinfect | Monthly |
| Replace deodorizer (baking soda, charcoal) | Weekly–Monthly |
| Check bag fit and integrity | Each bag change |
| Rinse food containers before tossing | Every time |
| Clean area around the bin | Weekly |
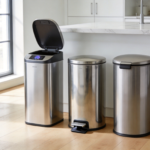
However, if you’ve tried everything above and your trash can still smells, the problem might be the bin itself. In particular, plastic bins — especially older ones — absorb odors over time and become nearly impossible to fully deodorize. Stainless steel bins, on the other hand, don’t retain smells and are much easier to clean.
If your current bin is more than 3-5 years old, made of thin plastic, or has visible staining and scratches on the interior, consequently, it may be time for an upgrade. A high-quality stainless steel sensor trash can with a sealed lid design can solve chronic odor problems almost immediately.
In summary, a smelly kitchen trash can isn’t just annoying — it’s a sign that bacteria, moisture, and decomposing waste are thriving in your kitchen. The fix isn’t complicated: empty more often, clean the bin regularly, use proper liners, add natural deodorizers, and consider upgrading to a sealed smart bin if odors persist.
Ultimately, summer makes the problem more urgent, but these strategies work year-round. The key is consistency — a 5-minute weekly cleaning routine and a few smart daily habits will keep your kitchen smelling fresh no matter how high the thermometer climbs.


[…] you’re also dealing with persistent odor issues, our guide on how to stop your kitchen trash can from smelling covers complementary strategies that work alongside fruit fly […]
[…] already dealing with persistent odors, you may also want to check out our guide on how to stop your kitchen trash can from smelling for complementary […]