Address
304 North Cardinal
St. Dorchester Center, MA 02124
Work Hours
Monday to Friday: 7AM - 7PM
Weekend: 10AM - 5PM
Address
304 North Cardinal
St. Dorchester Center, MA 02124
Work Hours
Monday to Friday: 7AM - 7PM
Weekend: 10AM - 5PM
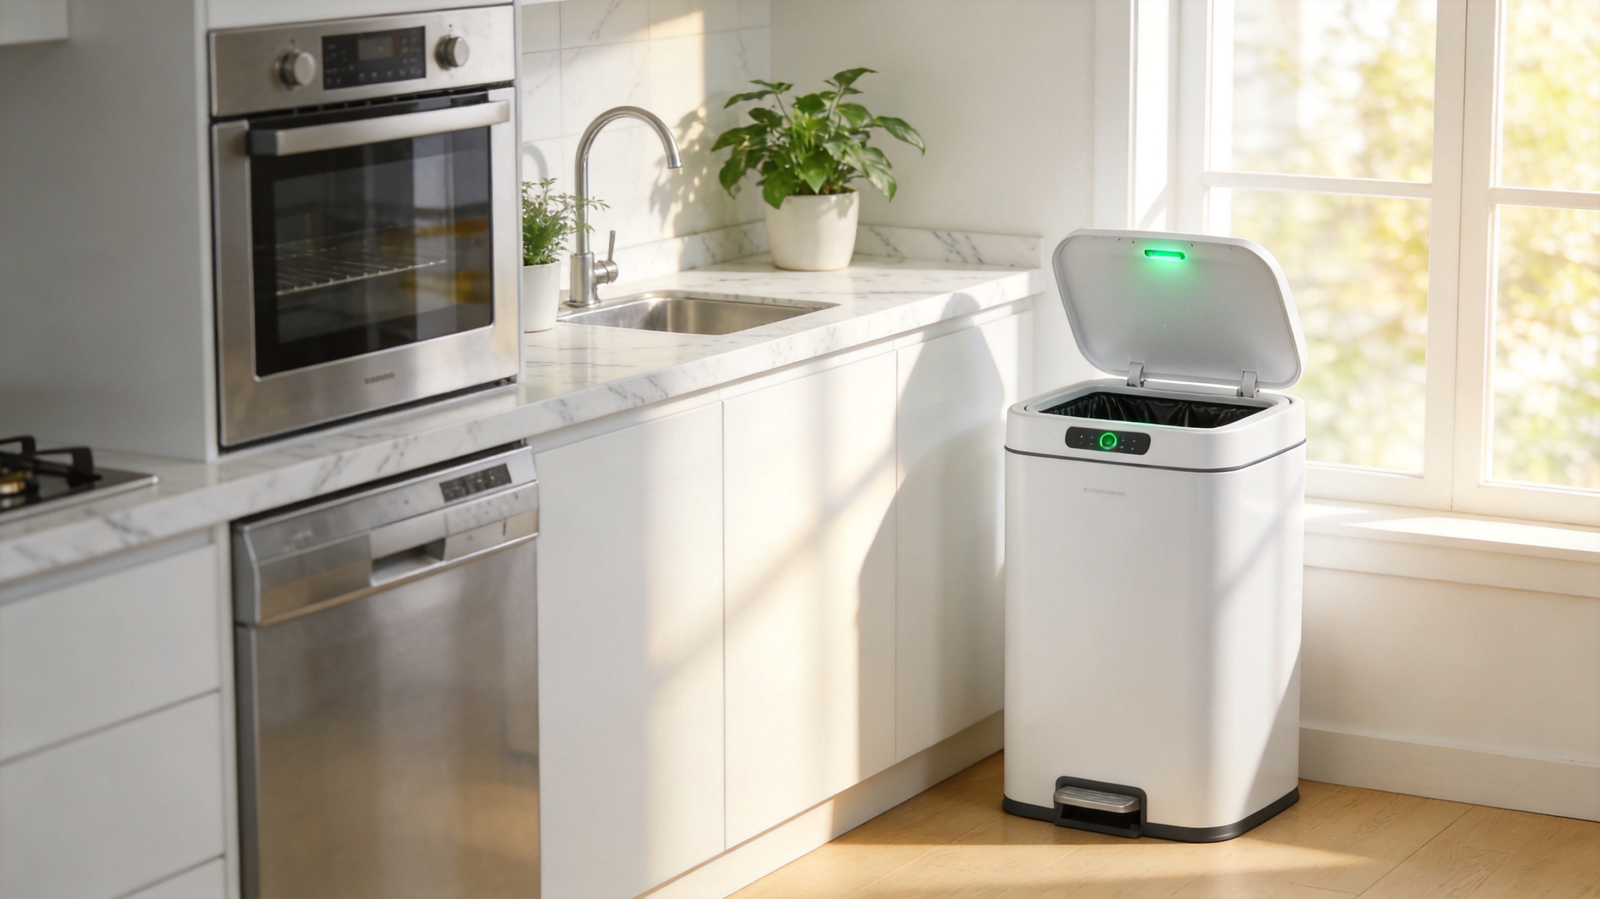
You just unboxed your smart sensor trash can, found the perfect spot near the kitchen counter — and called it done. But here’s what most people don’t realize: placement is the single biggest factor in whether your sensor trash can performs flawlessly or frustrates you with missed activations, false triggers, and premature battery drain.
A sensor trash can placed six inches too close to a metallic appliance can experience interference that reduces detection accuracy by up to 40% . A bin tucked into a humid bathroom corner without proper clearance might develop sensor condensation issues within weeks. And choosing the wrong capacity for a room means either constant overflows or wasted floor space.
The good news? Getting placement right takes about 10 minutes — and it transforms how your entire home functions. This guide breaks down the exact placement strategy for every room, based on sensor technology, traffic patterns, and real-world usage data.
Smart sensor trash cans use infrared (IR) proximity sensors to detect hand or body movement and trigger the lid to open automatically. This technology is precise — but it operates within specific physical constraints:
Every room in your home has a unique combination of space constraints, moisture levels, traffic patterns, and hygiene requirements. Placing your sensor bin without considering these factors is like parking a car without checking the mirrors — it works, but you’re missing critical information.
Let’s walk through each room.
The kitchen is where your sensor trash can works the hardest. Between food prep, cleanup, and constant foot traffic, this room demands strategic placement for both performance and hygiene.
Best spot: 12–18 inches from the primary prep area (countertop edge or island), positioned on a flat, stable surface away from direct heat sources.
Why this works:
表格
| Factor | Recommendation | Why It Matters |
|---|---|---|
| Distance from stove | At least 24 inches (60 cm) | Heat and steam can affect sensor calibration and lid mechanism |
| Distance from sink | 12+ inches; avoid splash zone | Water on the sensor window causes false triggers or missed detections |
| Distance from metal appliances | 6+ inches from stainless steel fridge, dishwasher | Metallic surfaces reflect IR signals and create dead zones |
| Floor surface | Flat, level tile or hardwood | Uneven surfaces cause lid misalignment and motor strain |
| Traffic flow | Along the natural kitchen work triangle path | Minimizes unnecessary steps during cooking and cleanup |
| Sunlight exposure | Avoid direct window light on sensor | Strong IR from sunlight can overwhelm the sensor’s detection range |
For households managing food safety concerns in the kitchen, our Sealed Smart Trash Can Kitchen Food Safety Guide explains how placement near food prep zones reduces cross-contamination risk.
Bathrooms present the most challenging environment for any electronic device — and sensor trash cans are no exception. The combination of high humidity, water splashes, and limited space requires careful positioning.
Best spot: Beside the vanity or adjacent to the toilet, on a dry, flat surface at least 18 inches from the shower/bathtub and 12 inches from the sink.
Why this works:
表格
| Factor | Recommendation | Why It Matters |
|---|---|---|
| Distance from shower/tub | Minimum 18 inches (45 cm) | Steam and splash water damage sensor electronics over time |
| Distance from sink | 12+ inches; never directly behind | Hand-washing splash zones create constant moisture exposure |
| Elevation | Floor-level or on a small raised platform | Floor placement works if the bathroom floor stays dry; raise slightly if condensation is common |
| Ventilation | Near exhaust fan or window | Airflow reduces humidity buildup around the sensor housing |
| Sensor orientation | Face sensor toward room center | Prevents wall-proximity false triggers and ensures clear detection |
For pet-owning households where bathroom trash cans also handle pet grooming waste, our Pet Owners Indoor Air Quality Guide covers odor management strategies that complement proper bin placement.
Bedrooms have lower waste volume but higher sensitivity to noise and aesthetics. Your sensor trash can in this space should be practically invisible — silent in operation, minimal in footprint, and discreet in appearance.
Best spot: Inside a walk-in closet near the entry, or beside the vanity/dressing area, away from the bed.
Why this works:
Working from home means your office trash can sees constant use — coffee cups, snack wrappers, printed pages, sticky notes, and packaging. But unlike the kitchen, office placement is often an afterthought, squeezed under a desk where the sensor can’t function properly.
Best spot: Within arm’s reach of your desk — either beside your desk chair (left or right based on dominant hand) or in the adjacent credenza area.
Why this works:
Laundry rooms combine moisture, heat, lint, and chemical exposure — a harsh environment for electronics. But they also generate consistent waste (dryer sheets, lint, packaging, empty detergent bottles) that benefits from hands-free disposal.
Best spot: On a shelf or countertop near the folding area, or on the floor between the washer and dryer — at least 2 feet from either appliance.
表格
| Factor | Recommendation | Reason |
|---|---|---|
| Distance from appliances | 24+ inches from washer/dryer | Vibration during cycles shifts bin position; heat exhaust affects sensor |
| Elevation | Raised surface preferred (shelf, counter) | Floor placement exposes bin to water leaks, detergent spills, and lint accumulation |
| Lint exposure | Wipe sensor weekly | Dryer lint settles on sensor window, creating a foggy film that blocks IR detection |
| Chemical exposure | Avoid splash zone from detergent/bleach | Chemical residues on the sensor housing can degrade plastic and IR-transparent covers |
These spaces handle the toughest waste — oily rags, packaging from deliveries, outdoor debris, and seasonal items. Sensor trash cans here serve a different purpose: they need to be durable, large-capacity, and positioned for high-traffic in-and-out flow.
Best spot: Near the interior entry door (mudroom) or along the walkway between garage door and house entrance (garage).
For families with young children who access the garage or mudroom, our Baby-Proofing Your Kitchen Trash Can guide includes safety principles that apply to any room in the home.
Regardless of which room you’re setting up, these five principles ensure reliable sensor performance and long-term durability:
Always place your sensor bin on a level, stable surface. Even a 2-degree tilt causes the motorized lid to bind, accelerates hinge wear, and creates gaps in the closed seal — allowing odors to escape.
Maintain at least 6 inches (15 cm) of clearance on all sides where the sensor is located. Walls, cabinets, and adjacent objects within this zone reflect IR signals and reduce detection accuracy.
In any room with water sources (kitchen, bathroom, laundry), position the bin so that no water can reach the sensor window through splashing, condensation, or accidental spills. A dry sensor is a reliable sensor.
Place the bin where natural movement passes within detection range — not hidden behind furniture or tucked in alcoves. If you have to consciously walk to the bin, placement has failed its primary purpose.
Keep the bin at least 24 inches (60 cm) from heat sources — ovens, radiators, space heaters, direct sunlight through glass. Heat affects both the sensor’s calibration and the motor’s lubrication over time.
Use this summary to match each room with the optimal bin type and placement:
表格
| Room | Recommended Capacity | Ideal Location | Key Concern | Elylife Model |
|---|---|---|---|---|
| Kitchen (primary) | 30L | Near prep counter, away from stove/sink | Heat, splash, metal interference | K130 / K230 |
| Kitchen (secondary) | 12L | Dining area, breakfast nook | Space constraints | B112 |
| Bathroom | 9–12L | Beside vanity, away from shower | Humidity, moisture on sensor | B109 / B112 |
| Bedroom | 9L | Closet entry or beside vanity | Noise, aesthetics | B109 |
| Home Office | 12–18L | Beside desk chair (not under desk) | Cable clutter, sensor blockage | B112 / B118 |
| Laundry Room | 18–30L | Raised surface near folding area | Lint, vibration, chemical exposure | B118 / K130 |
| Garage / Mudroom | 30L+ | Near entry door, along walkway | Temperature extremes, UV exposure | K130 / K230 |
Even with careful planning, sensor issues can emerge over time. Here are the most common placement-related problems and their fixes:
Problem: Lid opens randomly without anyone nearby.
Likely cause: Sensor window is reflecting IR off a nearby metallic surface (appliance, mirror, metal cabinet). Fix: Reangle the bin slightly away from reflective surfaces, or increase distance by 6–8 inches.
Problem: Lid doesn’t open when you approach.
Likely cause: Sensor window is dirty, fogged with condensation, or blocked by an object within 2 inches. Fix: Wipe the sensor with a dry microfiber cloth and clear the immediate detection zone.
Problem: Lid closes slowly or gets stuck halfway.
Likely cause: Bin is on an uneven surface, or the hinge mechanism has collected debris. Fix: Level the surface and clean the hinge area with a dry cotton swab.
Problem: Batteries drain faster than expected.
Likely cause: High-traffic placement causes excessive activations, or the bin is near a heat source accelerating battery chemistry. Fix: Relocate away from heat and consider a model with rechargeable battery for high-traffic areas.
For more detailed troubleshooting steps, our Smart Trash Can Maintenance Guide provides a comprehensive diagnostic workflow.
Placing your sensor trash can isn’t complicated — but it does require intentional thinking beyond ” wherever there’s floor space.” A few minutes of strategic placement in each room pays dividends in sensor reliability, battery life, hygiene, and daily convenience.
Think of it this way: your sensor trash can is a tool that works for you. Give it the right position, and it becomes invisible in the best way — always there when you need it, never getting in the way, and quietly keeping your home cleaner and more hygienic every single day.
Start with the room where you use your current trash can most. Apply the placement principles from this guide. Then expand room by room. Within a week, you’ll wonder how you ever tolerated a bin that didn’t open on its own.
The right trash can in the wrong spot is just an expensive paperweight. Put yours in the right spot — and let smart technology do what it was designed to do.


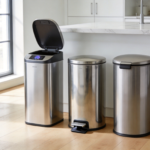
[…] maximum sensor reliability, proper placement is essential. Our Sensor Trash Can Placement Guide covers how to position your bin to avoid interference from metallic surfaces, direct sunlight, […]
[…] bin away from direct sun; see our Placement Guide for optimal […]